
Salmon Sushi Casserole Recipe That’s Baked and Savory
Salmon sushi bake recipe fans know this casserole-style dish brings all the satisfaction of their favorite Japanese rolls without the fuss of individual preparation.
The concept takes everything people love about fresh, flavorful sushi and reimagines it as a shareable, warm creation that's perfect for gatherings or weeknight dinners.
Comfort meets elegance in each spoonful, making it an unexpectedly crowd-pleasing option that works beautifully for both casual meals and special occasions.
The beauty lies in how accessible it becomes, no special rolling skills required, yet the results feel just as impressive.
Every bite offers that familiar balance of flavors you crave from your go-to sushi spot, now served in a format that's incredibly easy to portion and enjoy.
Whether you're feeding a hungry crowd or simply treating yourself, this baked version brings restaurant-worthy taste with minimal effort.
Why Everyone Finds This Salmon Sushi Bake So Satisfyingly Cozy
Why Everyone Is Raving About This Cozy Salmon Sushi Bake
What Is Needed For This Cozy Salmon Sushi Bake
How to Layer a Creamy and Crispy Salmon Sushi Bake
Rinse the Rice
Grab your sushi rice and rinse it under cold water until the water runs completely clear. This step matters for getting that perfect sticky texture. Pour 2 cups of rice and 2 ½ cups of water into a saucepan. Bring the mixture to a boil, then turn the heat down low. Cover the pot and let it simmer for exactly 20 minutes until the rice becomes tender.
Season the Rice Mixture
In a small bowl, whisk together ¼ cup rice vinegar, 2 tablespoons sugar, and 1 teaspoon salt until everything dissolves smoothly. Once your rice finishes cooking, take it off the heat and gently fold in the vinegar mixture. Let the rice cool down for a few minutes – this helps create a solid base for your bake.
Create the Salmon Filling
Time to mix your creamy salmon layer. Grab a mixing bowl and combine these ingredients:
Stir everything until the mixture looks smooth and well-blended.
Layer the Baking Dish
Spread your cooled rice evenly across the bottom of a lightly greased baking dish. Carefully spoon the salmon mixture on top, making sure it covers the rice in an even layer. Sprinkle 2 sheets of nori (cut into small pieces) over the top for an extra burst of ocean flavor.
Add the Crunchy Topping
Scatter ½ cup panko breadcrumbs across the surface, pressing them down gently so they stick to the salmon mixture. This will create a delightful golden crust when baked.
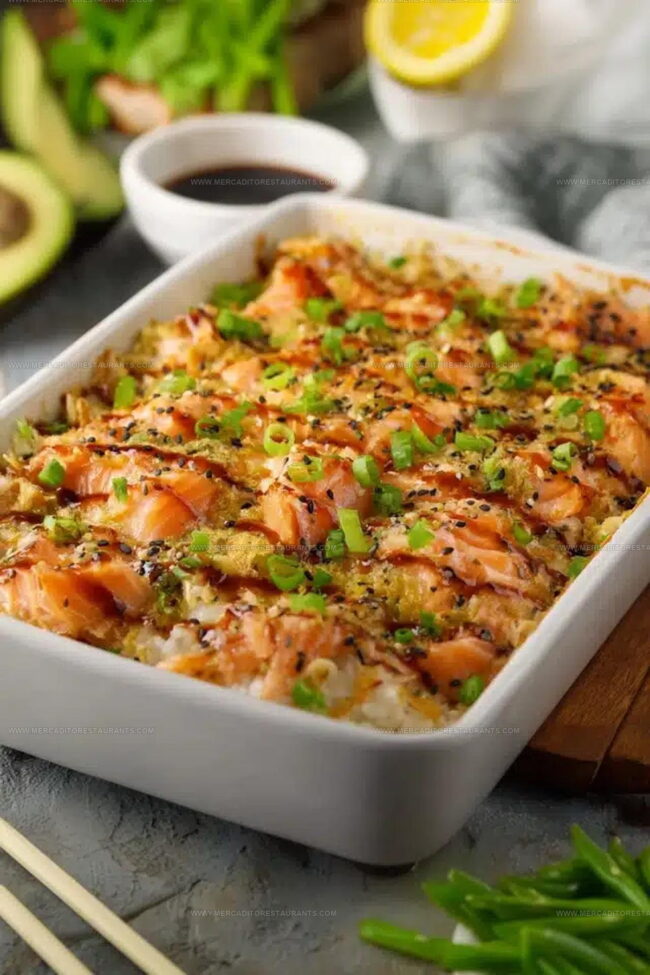
Bake to Golden Perfection
Preheat your oven to exactly 350°F (175°C). Slide the dish into the oven and bake for 25-30 minutes. Watch for a gorgeous golden-brown top that’s bubbling around the edges.
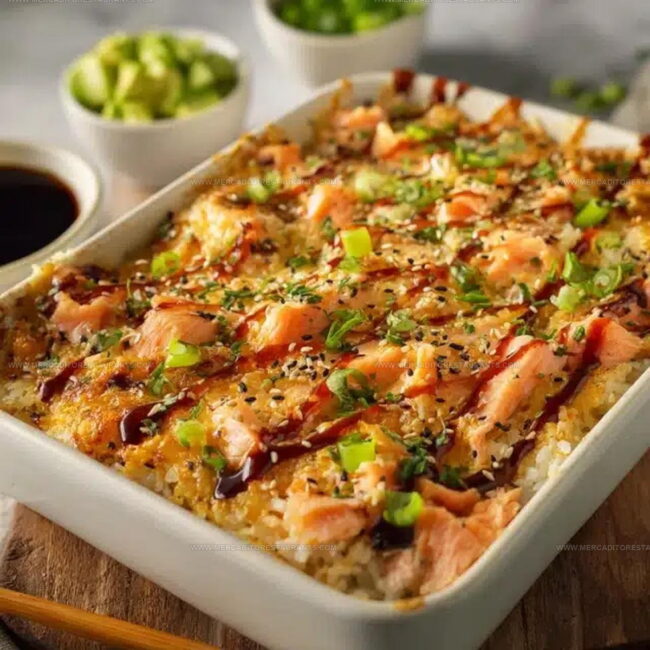
Final Touches
Pull the bake out of the oven and sprinkle 1 tablespoon of sesame seeds on top. Let it cool for a few minutes, then slice into squares. Serve with extra nori sheets on the side if you’re feeling fancy.
Fun Flavor Routes For Custom Salmon Sushi Bake Pans
Creative Protein and Topping Twists for Sushi Bakes
How to Serve Salmon Sushi Bake Fresh with Clean Portions
Maintaining the Creamy Topping in Stored Sushi Bakes
Salmon Sushi Bake Quick Question Guide For Home Cooks
What type of salmon works best?
Fresh salmon is ideal, but canned salmon can work if you drain it thoroughly and remove any bones. Wild-caught salmon provides a richer flavor compared to farm-raised.
Can I make this dish spicy?
Absolutely adjust the sriracha amount to match your heat preference. Start with a small amount and add more gradually to control the spice level.
Is this recipe good for meal prep?
Salmon sushi bake keeps well in the refrigerator for 2-3 days. Reheat in the oven to maintain the crispy panko topping and prevent soggy texture.
Do I need special equipment?
A standard baking dish and basic kitchen tools are all you need. No sushi rolling mat or complicated gear required for this simplified version.
Can I substitute ingredients?
Replace cream cheese with Greek yogurt for a lighter version. Swap panko with gluten-free breadcrumbs if needed. Green onions can be substituted with chives.
How do I know the salmon is fully cooked?
The salmon mixture should look creamy and opaque. If using raw salmon, ensure it reaches an internal temperature of 145°F for food safety.

Viral Style Salmon Sushi Bake Recipe
- Total Time: 45-50 minutes
- Yield: 4 1x
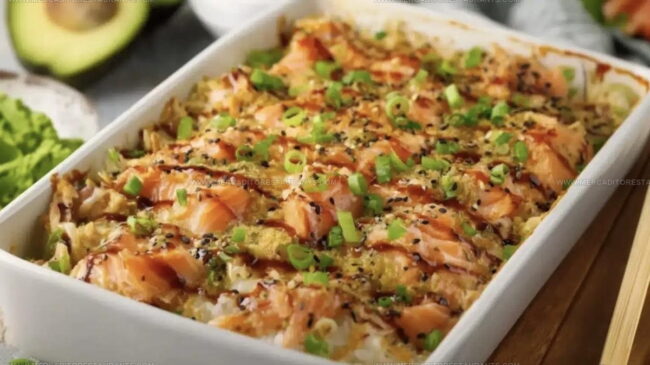
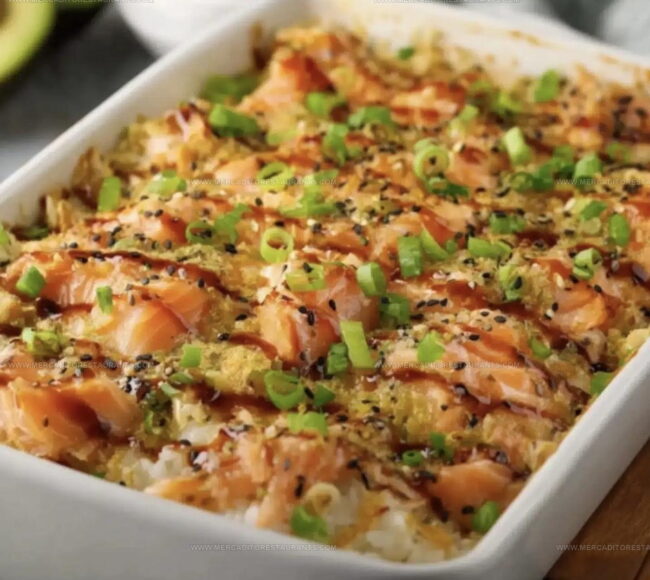
Description
Salmon Sushi Bake brings Japanese flavors straight to your kitchen with a comforting, cheesy twist that makes dinner feel like a warm hug. Crispy panko topping and creamy salmon mixture create a delightful casserole that turns traditional sushi into a crowd-pleasing, shareable meal perfect for family gatherings.
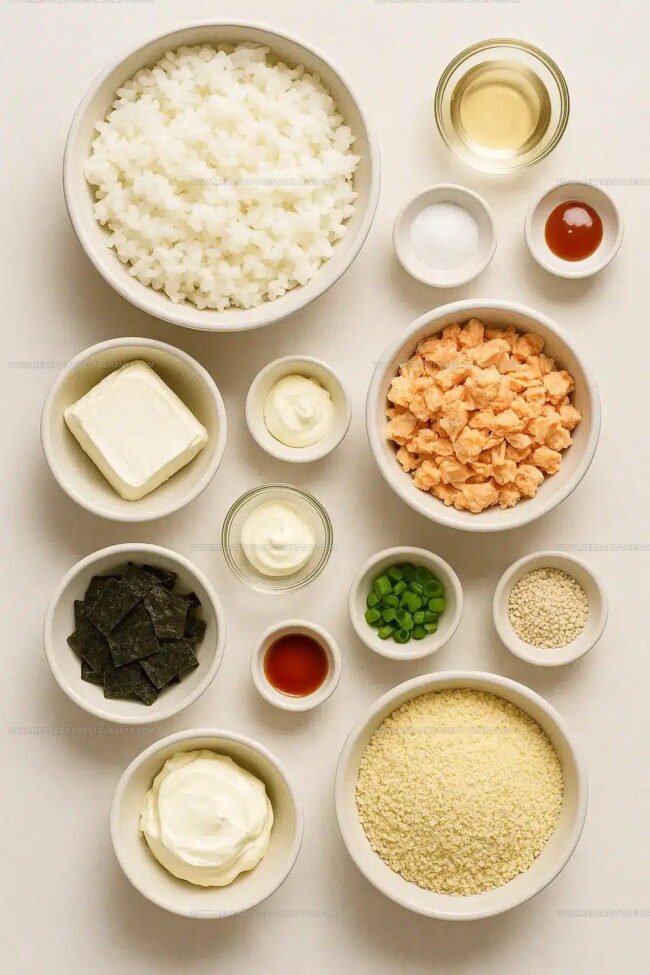
Ingredients
Main Ingredients:
- 2 cups sushi rice
- 1 cup cooked salmon
- 8 oz cream cheese
- 2 sheets nori
Supporting Ingredients:
- 2 ½ cups water
- ¼ cup rice vinegar
- 2 tablespoons sugar
- 1 teaspoon salt
Garnish and Topping Ingredients:
- 2 tablespoons mayonnaise
- 1 tablespoon sriracha
- ¼ cup green onions
- ½ cup panko breadcrumbs
- 1 tablespoon sesame seeds
Instructions
- Rinse 2 cups sushi rice under cold water until liquid runs clear. This removes excess starch for perfect texture.
- Combine rice with 2 ½ cups water in saucepan. Bring to boil, then reduce heat to low. Cover and simmer exactly 20 minutes at 190°F.
- Whisk ¼ cup rice vinegar, 2 tablespoons sugar, and 1 teaspoon salt in small bowl until sugar dissolves completely.
- Remove rice from heat. Gently fold vinegar mixture into warm rice. Let your rice cool 10 minutes to create stable base for baking.
- Mix 8 oz softened cream cheese, 1 cup flaked salmon, 2 tablespoons mayonnaise, and 1 tablespoon sriracha in separate bowl until smooth.
- Fold ¼ cup chopped green onions into salmon mixture. Ensure ingredients blend thoroughly.
- Grease 9×13 inch baking dish. Spread cooled rice evenly across bottom, creating compact layer.
- Spoon salmon cream mixture over rice. Distribute carefully to cover entire surface.
- Scatter 2 sheets chopped nori pieces across salmon layer for depth of flavor.
- Sprinkle ½ cup panko breadcrumbs over top. Press gently to help crumbs adhere.
- Preheat oven to 350°F. Bake uncovered for exactly 27 minutes until top turns golden brown.
- Remove from oven. Garnish with 1 tablespoon sesame seeds. Rest 5 minutes before serving.
- Slice into squares. Serve warm with additional nori or drizzle of sriracha mayo.
Notes
- Check salmon freshness by pressing gently – if it springs back, it’s perfect for the dish.
- Use sushi-grade salmon to ensure food safety and best flavor when baking.
- Quickly mix rice vinegar into warm rice to distribute seasoning evenly without making grains mushy.
- Serve immediately after baking to enjoy the crispy top layer and warm, creamy salmon filling at its peak texture.
- Prep Time: 20 minutes
- Cook Time: 25-30 minutes
- Category: Baked
- Method: Baking
- Cuisine: Japanese
Nutrition
- Serving Size: 4
- Calories: 310 kcal
- Sugar: 4 g
- Sodium: 480 mg
- Fat: 15 g
- Saturated Fat: 5 g
- Unsaturated Fat: 9 g
- Trans Fat: 0 g
- Carbohydrates: 32 g
- Fiber: 1.5 g
- Protein: 13 g
- Cholesterol: 35 mg
Daniel Navarro
Culinary Content Director
Expertise
Mexican-inspired Menus, Seasonal Restaurant Specials, Shared Plate Dining, Tequila Pairings, Chef-driven Recipes
Education
Daniel writes about bold flavors, chef-driven dishes, and the kind of restaurant moments that turn tacos, mezcal, and shared plates into a night worth repeating.