
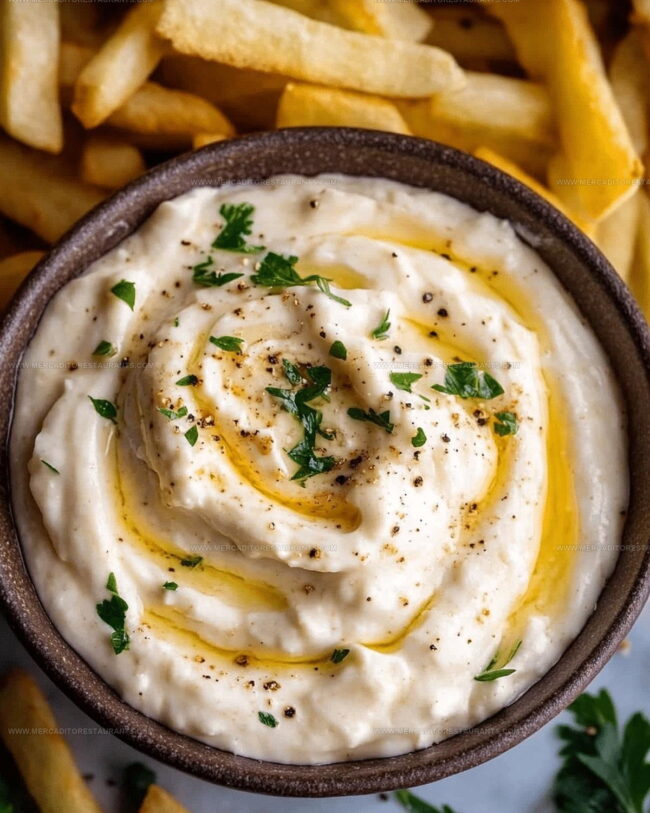
Creamy Roasted Garlic Aioli Recipe for Bold Flavor
Creamy roasted garlic aioli offers pure magic for sauce enthusiasts everywhere.
Mediterranean kitchens have long celebrated this sumptuous condiment as a game-changing spread.
Smooth, rich flavors emerge when garlic transforms into a mellow, golden delight through careful roasting techniques.
Sophisticated yet simple, this classic sauce elevates everything from sandwiches to vegetable platters with remarkable depth.
Home cooks adore how minimal effort produces such remarkable results in mere minutes.
Professional chefs and weekend cooking warriors share an equal passion for its complex, velvety character.
Bold flavor lovers will find themselves completely captivated by this remarkable sauce that turns ordinary meals extraordinary.
Why You’ll Love Bold and Creamy Roasted Garlic Aioli
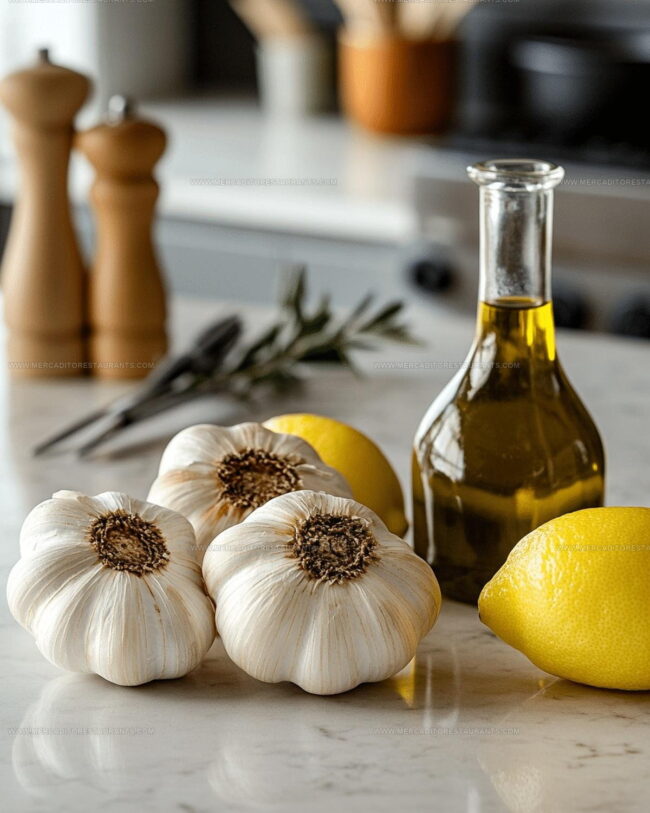
Full Ingredient List for Roasted Garlic Aioli
Main Ingredients:Everyday Kitchen Equipment for Roasted Garlic Aioli
Classic Way to Make Roasted Garlic Aioli
Prepare Garlic for Roasting
Crank up your oven to 400°F. Grab those 3 heads of garlic and slice off the tops so the cloves peek out. Grab a piece of foil and set the garlic heads right in the center.
Drizzle the olive oil over the garlic and sprinkle with salt. Wrap the foil tightly around the garlic to create a sealed packet.
Roast the Garlic
Pop the wrapped garlic into the oven and roast for 35-40 minutes. You’re looking for soft, golden cloves that smell amazing. When done, pull them out and let them cool down just enough to handle safely.
Create Garlic Paste
Gently squeeze those roasted garlic cloves into a bowl. Mash them into a smooth paste using the back of a spoon or a fork. The cloves should be super soft and easy to squish.
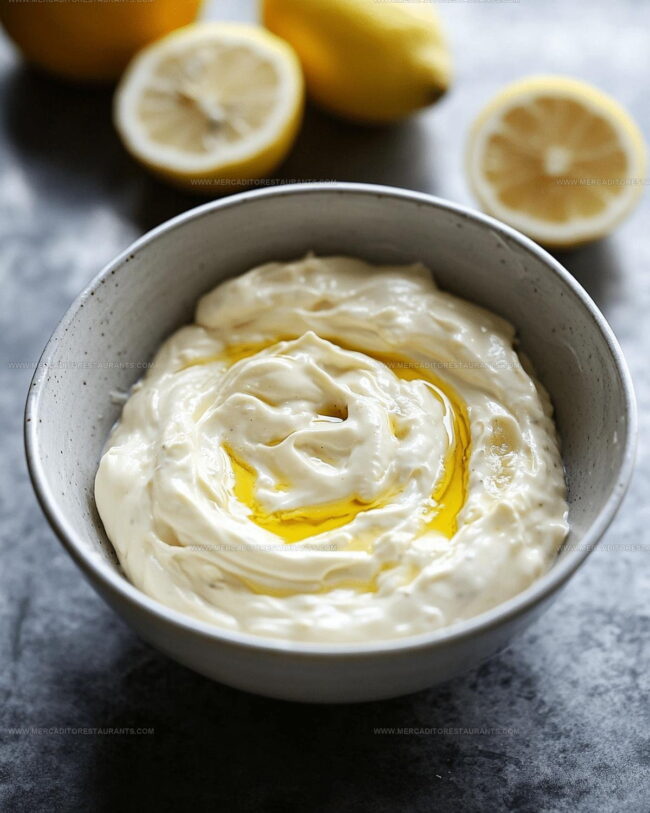
Mix the Aioli
Grab a mixing bowl and combine your fresh garlic paste with the other ingredients:
Whisk everything together until the mixture looks smooth and creamy. Give it a taste and add a pinch more salt if you think it needs it.
Chill and Serve
Tuck the aioli into the refrigerator for at least 15 minutes. This lets the flavors mingle and get to know each other. Serve cold and enjoy as a dip or spread.
What Are the Best Tips for Roasted Garlic Aioli
What Other Variations Work For Roasted Garlic Aioli
How To Serve Roasted Garlic Aioli
Recommended Storage Method For Roasted Garlic Aioli
Roasted Garlic Aioli Popular Questions
Can I use jarred minced garlic instead of fresh roasted garlic?
Fresh roasted garlic delivers a richer, sweeter flavor that jarred garlic cannot match. Roasting transforms the raw garlic’s sharp bite into a mellow, caramelized taste.
What if my garlic burns while roasting?
Wrap the garlic in foil completely and check it every 10 minutes. Golden brown is perfect, but blackened edges mean you should start over.
How smooth should the garlic paste be?
Mash the roasted cloves with a fork until they form a creamy, spreadable consistency without large chunks.
Is Worcestershire sauce mandatory in this recipe?
The sauce adds depth, but you can skip it if unavailable. A dash of soy sauce or balsamic vinegar works as a substitute.
How long does roasted garlic aioli stay fresh?
Stored in an airtight container in the refrigerator, your aioli will keep for 5-7 days.
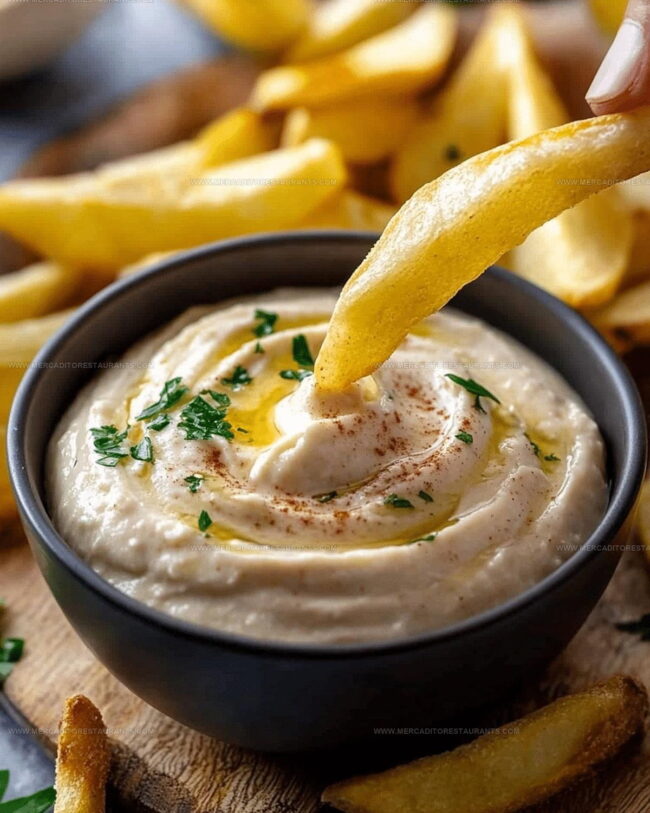
Can this aioli work as a dip or spread?
Absolutely. It’s fantastic with vegetables, sandwiches, grilled meats, and as a zesty condiment.

Roasted Garlic Aioli Recipe
- Total Time: 50-55 minutes
- Yield: 4 1x
Description
Roasted garlic aioli brings Mediterranean magic to your kitchen with minimal ingredients and maximum flavor. Spread this creamy sauce on sandwiches, drizzle over roasted vegetables, or use as a dipping companion for crispy fries.
Ingredients
Main Ingredients:
- 1 ¼ cups mayonnaise
- 3 heads garlic
Supporting Ingredients:
- 1 tablespoon olive oil
- 1 tablespoon lemon juice
- 1 teaspoon Worcestershire sauce
Seasoning:
- 1 pinch coarse sea salt
Instructions
- Preheat the oven to 400°F and prepare a sheet of aluminum foil for your three garlic heads.
- Slice the tops off all garlic heads to expose the cloves completely.
- Arrange garlic heads on foil and drizzle 1 tablespoon olive oil over them, then sprinkle a pinch of coarse sea salt across the surface.
- Wrap the foil tightly around the garlic to create a sealed packet.
- Roast in the preheated oven for 35-40 minutes until the garlic becomes soft and turns golden brown.
- Remove from oven and let the garlic cool for about 5 minutes.
- Squeeze the roasted garlic cloves from their skins directly into a mixing bowl.
- Mash the garlic cloves into a smooth paste using a fork.
- Add 1 ¼ cups mayonnaise, 1 tablespoon olive oil, 1 tablespoon lemon juice, and 1 teaspoon Worcestershire sauce to the garlic paste.
- Whisk all ingredients together until the mixture becomes completely smooth and well combined.
- Taste the aioli and adjust seasonings if your palate suggests more salt or acid.
- Transfer the aioli to a sealed container and refrigerate for at least 15 minutes before serving to allow flavors to meld.
Notes
- Roasting the garlic low and slow brings out a rich, mellow sweetness that transforms this aioli from ordinary to extraordinary.
- Choose fresh, plump garlic heads and wrap them tightly in foil to prevent burning and help steam the cloves to tender perfection.
- For a lighter version, swap traditional mayonnaise with Greek yogurt or a vegan mayo alternative to reduce calories and accommodate dietary restrictions.
- Let the aioli rest in the refrigerator for at least 15 minutes to allow the flavors to meld and develop a deeper, more complex taste profile.
- Prep Time: 10 minutes
- Cook Time: 35-40 minutes
- Category: Roasted
- Method: Roasting
- Cuisine: French
Nutrition
- Serving Size: 4
- Calories: 280 kcal
- Sugar: 0.5 g
- Sodium: 230 mg
- Fat: 29 g
- Saturated Fat: 4.5 g
- Unsaturated Fat: 23 g
- Trans Fat: 0 g
- Carbohydrates: 3 g
- Fiber: 0.5 g
- Protein: 1 g
- Cholesterol: 10 mg
Isabella Romero
Hospitality & Beverage Editor
Expertise
Cocktail Culture, Tequila and Mezcal Knowledge, Guest Experience Writing, Restaurant Trends, Event Dining Guides
Education
- Program: B.A. in Hospitality Management
- Focus: Studied hospitality through a program built around theory and application, with practical preparation for restaurant and guest-experience careers in Chicago’s hospitality industry.
Wine & Spirit Education Trust (WSET)Isabella brings together cocktails, food culture, social dining, and the thoughtful details that make a meal feel memorable. Her content blends atmosphere, flavor, and hospitality in a warm, polished style that helps readers connect with the full dining experience, from the first sip to the last bite.