
Juicy Roasted Chicken Under a Brick Recipe
Roasted crispy chicken under a brick is one of those techniques that sounds fancy but actually makes cooking a whole bird simpler and more foolproof.
The method creates an incredibly golden, crackling skin while keeping the meat juicy and tender throughout.
What makes it special is how the weight presses everything flat against the heat, cooking evenly in a fraction of the usual time.
No special equipment beyond a heavy skillet or pot is needed to achieve professional results at home.
The presentation looks impressive when you bring it to the table, perfect for weekend dinners or when entertaining feels important.
Families love how forgiving it is, hard to overcook and always flavorful.
Home cooks appreciate that it frees up oven space since everything happens in one pan on the stovetop or grill.
Give yourself permission to enjoy restaurant-style poultry without the stress or complicated steps that usually come with it.
What Makes Roasted Crispy Chicken Under a Brick Stand Out
Core Ingredients in Crispy Chicken Under a Brick
Standard Cooking Tools for Crispy Chicken Under a Brick
Cooking Method for Roasted Crispy Chicken Under a Brick
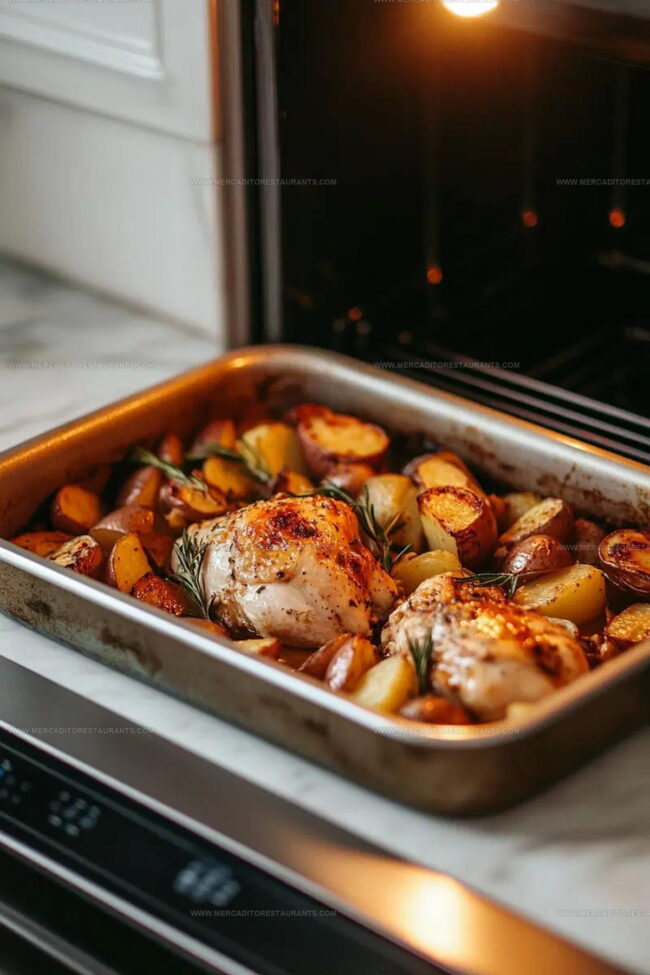
Prepare the Oven
Crank your oven up to 375°F and get ready for a crispy chicken adventure. Grab your cutting board and chicken – we’re about to transform this bird!
Spatchcock the Chicken
Time to break down the chicken like a pro. Flip the bird backbone-up and use sharp kitchen shears to cut along both sides of the spine, removing it completely. Press down firmly on the breastbone to flatten the chicken out. This trick helps the chicken cook evenly and get super crispy.
Season the Chicken
Sprinkle salt and pepper generously over both sides of the chicken. Don’t be shy – seasoning is where the flavor magic happens!
Sear the Chicken
Grab a non-stick or cast iron skillet and heat 1 tablespoon vegetable oil over medium heat. Carefully place the chicken skin-side down in the hot pan. Here’s the cool part: grab a brick wrapped in foil (or a heavy pot) and press it down on the chicken. This creates amazing crispy skin. Cook for 15 minutes, checking the heat every 5 minutes to prevent burning.
Make the Marinade
While the chicken sizzles, whip up the flavor-packed marinade:
Whisk these ingredients together in a small bowl.
Prepare the Vegetables
Remove the chicken from the pan and drain any excess fat. Toss in:
Combine and Bake
Place the chicken on top of the vegetables and drizzle the entire marinade over everything. Slide the pan into the 375°F oven and bake for 20 minutes. The chicken is done when it reaches an internal temperature of 165°F.
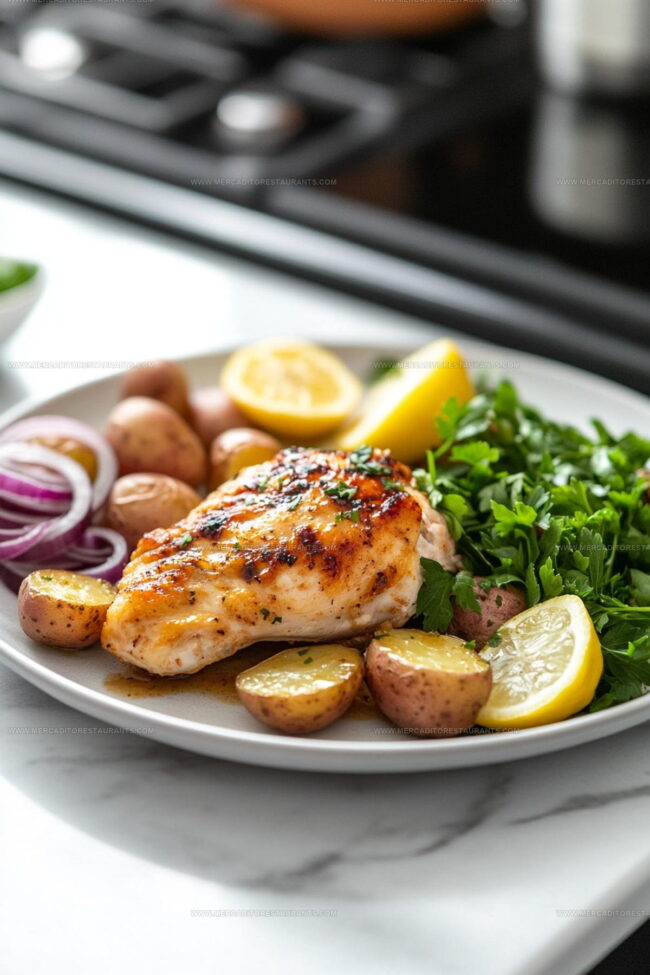
Rest and Serve
Let the chicken rest for a few minutes. Sprinkle with fresh parsley and serve with lemon wedges on the side. Dinner is served – crispy, flavorful, and totally delicious!
Important Notes for Crispy Chicken Under a Brick
Different Takes on Crispy Chicken Under a Brick
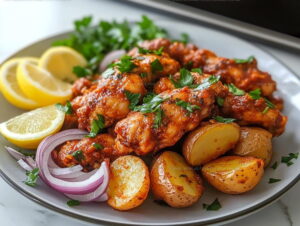
How to Serve Crispy Chicken Under a Brick
Storage And Reheating Notes For Brick Chicken
Roasted Crispy Chicken Under a Brick Q&A
What does spatchcock mean?
Spatchcock is a technique where you remove the backbone of the chicken and flatten it, which helps the meat cook evenly and faster.
Can I use a different weight instead of a brick?
Absolutely! A heavy cast iron skillet, another pan filled with water, or a heavy pot will work perfectly to press the chicken flat.
Why do I press the chicken down while cooking?
Pressing the chicken creates more direct contact with the hot pan, which helps develop a crispy, golden-brown skin and ensures even cooking.
Do I need a special type of pan for this recipe?
A non-stick or cast iron skillet works best to create that perfect crispy exterior and prevent sticking.
Can I substitute dried thyme for fresh thyme?
Yes, you can! Use one-third the amount of dried thyme compared to fresh thyme in the marinade.
What if I don’t have smoked paprika?
Regular paprika works fine, though it won’t have the same depth of smoky flavor. You could also add a tiny bit of cayenne for extra kick.
Roasted Crispy Chicken Under a Brick Recipe
- Total Time: 45 minutes
- Yield: 3 to 4 1x
Description
Roasted crispy chicken under a brick brings rustic Italian cooking straight to your kitchen table with a technique that guarantees perfectly crisp skin and juicy meat. Pressing the chicken with a heavy brick while roasting creates an incredible texture that makes dinner feel like a special culinary adventure.
Ingredients
Main Ingredients:
- 1.5 lb whole chicken
- 1.5 lb baby potatoes
- 1 red onion
Marinade Ingredients:
- 1 tablespoon olive oil
- 1 tablespoon fresh lemon juice
- 1 tablespoon vegetable oil
- 3 cloves garlic
- 2 teaspoons fresh thyme leaves
Seasoning Ingredients:
- 0.5 teaspoon smoked paprika
- Salt
- Pepper
Garnish and Serving:
- Fresh parsley
- Lemon wedges
Instructions
- Crack open your chicken by removing the backbone and flattening the breast bone. Season both surfaces generously with kosher salt and black pepper.
- Warm a non-stick skillet over medium heat. Pour 1 tablespoon vegetable oil across the pan’s surface.
- Position the chicken skin-side down in the heated pan. Cover with a foil-wrapped brick, pressing firmly to ensure maximum contact with the cooking surface.
- Sear the chicken for exactly 15 minutes, rotating the pan and adjusting heat every 5 minutes to prevent burning.
- Whisk together 1 tablespoon olive oil, 1 tablespoon fresh lemon juice, 3 minced garlic cloves, 2 teaspoons thyme leaves, ½ teaspoon smoked paprika, salt, and pepper in a small bowl.
- Transfer the chicken to a plate. Clear the pan and scatter 1 ½ pounds halved baby potatoes and 1 quartered red onion across the surface.
- Nestle the chicken atop the vegetables and drizzle the entire marinade over the dish.
- Slide the pan into a preheated 375°F oven. Roast for 20 minutes until the chicken’s internal temperature reaches precisely 165°F.
- Remove from the oven and allow the chicken to rest for 5 minutes. Garnish with fresh parsley and serve with lemon wedges.
Notes
- Wrapping a brick in foil creates even pressure for super crispy skin that’s golden brown and perfectly rendered.
- The spatchcock technique ensures faster, more even cooking by flattening the chicken and exposing more surface area to heat.
- Using a cast iron pan helps develop a beautiful sear and creates those delicious crispy edges before finishing in the oven.
- Letting the chicken rest after cooking allows the juices to redistribute, keeping the meat tender and preventing dry meat when you slice into it.
- Prep Time: 10 minutes
- Cook Time: 35 minutes
- Category: Roasted
- Method: Roasting
- Cuisine: Italian
Nutrition
- Serving Size: 3 to 4
- Calories: 320 kcal
- Sugar: 1 g
- Sodium: 220 mg
- Fat: 18 g
- Saturated Fat: 4.5 g
- Unsaturated Fat: 12 g
- Trans Fat: 0 g
- Carbohydrates: 14 g
- Fiber: 2.5 g
- Protein: 30 g
- Cholesterol: 90 mg
Isabella Romero
Hospitality & Beverage Editor
Expertise
Cocktail Culture, Tequila and Mezcal Knowledge, Guest Experience Writing, Restaurant Trends, Event Dining Guides
Education
- Program: B.A. in Hospitality Management
- Focus: Studied hospitality through a program built around theory and application, with practical preparation for restaurant and guest-experience careers in Chicago’s hospitality industry.
Wine & Spirit Education Trust (WSET)Isabella brings together cocktails, food culture, social dining, and the thoughtful details that make a meal feel memorable. Her content blends atmosphere, flavor, and hospitality in a warm, polished style that helps readers connect with the full dining experience, from the first sip to the last bite.