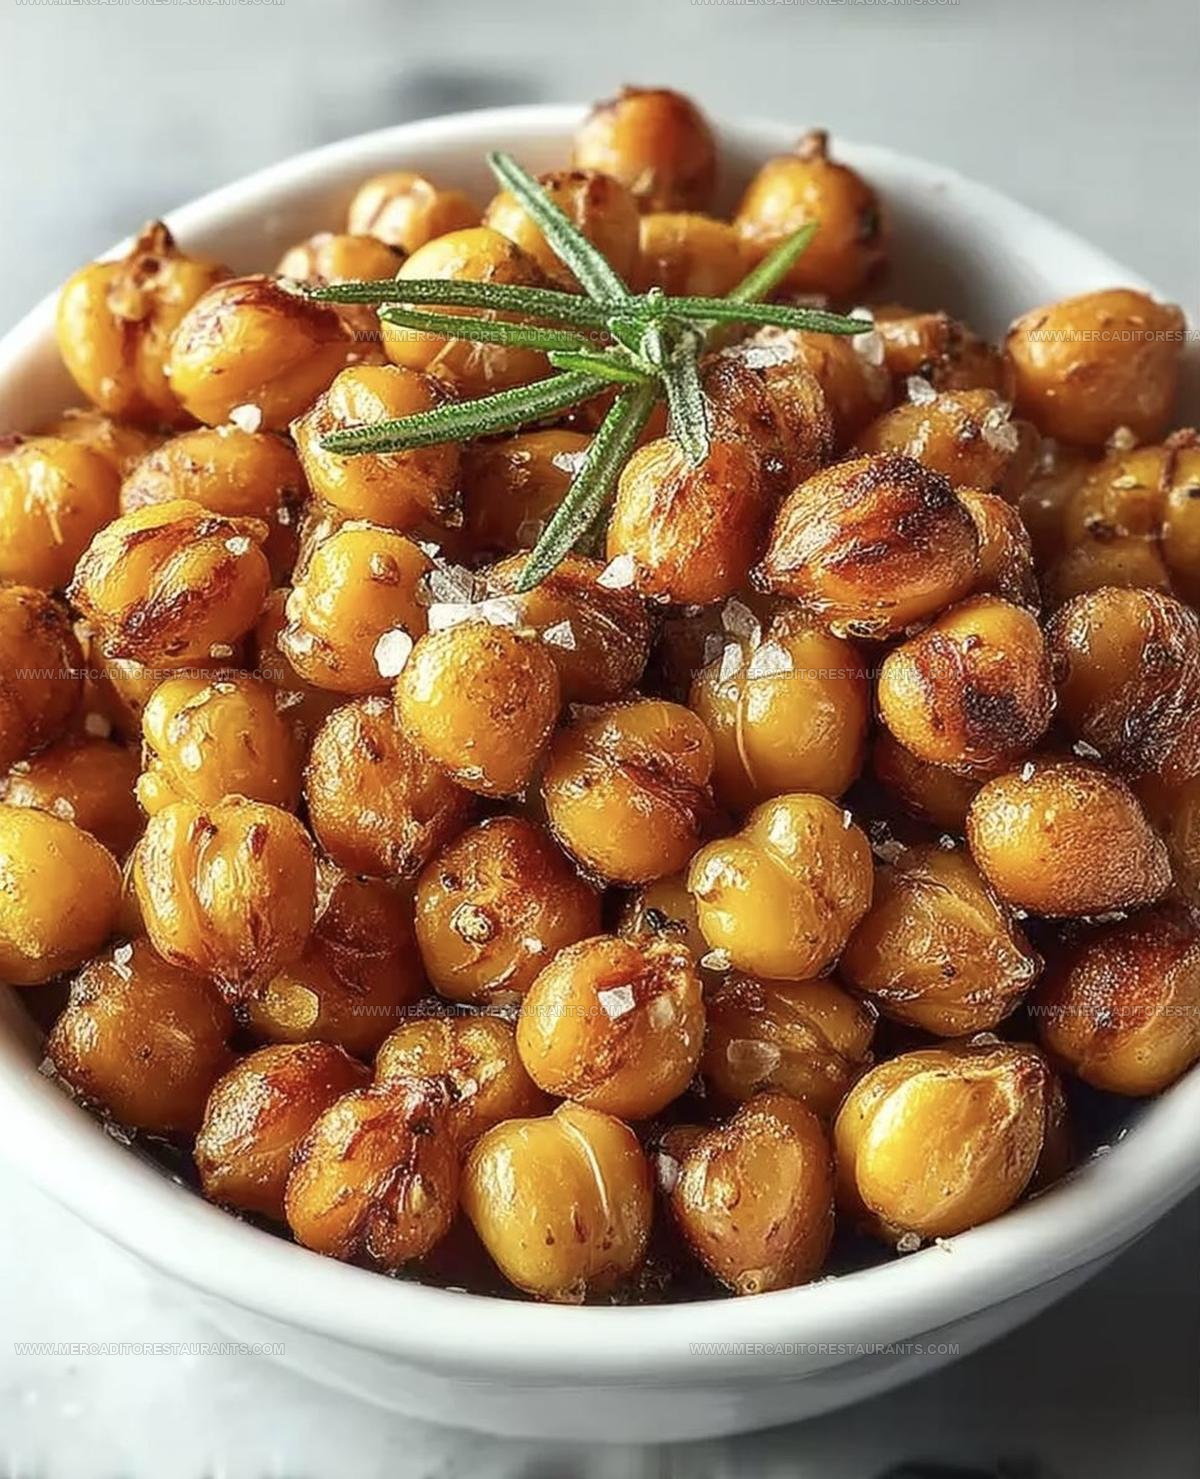
Crunchy Roasted Chickpeas Recipe for Snacking Anytime
Roasted chickpeas pack serious crunch and bold flavor in one simple snack that has won over countless fans worldwide.
What makes them so popular is how satisfying and versatile one humble legume can become when given the right treatment in the oven.
Whether for munching between meals, topping salads, or sharing at gatherings, they fit perfectly into busy lifestyles without any guilt attached.
The texture alone makes every bite feel like a treat, while the endless seasoning options mean boredom never enters the equation.
They also happen to be naturally nutritious, filling, and budget-friendly, which explains why so many people return to them again and again.
Getting started is simple, and the results speak for themselves with every crunchy, flavorful bite that proves homemade always wins.
Why Do Roasted Chickpeas Make a Smart Snack?
Ingredients Used in Roasted Chickpeas
Main Ingredients:Tools Used for Crunchy Roasted Chickpeas
Simple Guide for Making Roasted Chickpeas
Prep the Beans
Open that can of chickpeas and dump them into a colander. Rinse them thoroughly under cool running water to wash away any extra salt or canning liquid. Shake off the excess water.
Dry Those Beans
Spread a clean kitchen towel on your counter. Pour the chickpeas onto the towel and gently pat them completely dry. For super crispy results, try removing the thin outer skins by rubbing the chickpeas between two towels.
Mix the Flavor Blend
Grab a mixing bowl and add the seasonings:
Whisk everything together until it’s well combined.
Coat the Chickpeas
Drop the dried chickpeas into the seasoning bowl. Toss and stir until every single bean gets a delicious coating of spices.
Prepare for Roasting
Line a baking sheet with parchment paper. Spread the seasoned chickpeas in a single layer, making sure they’re not crowded or overlapping.
Roast to Crispy Perfection
Heat the oven to 400°F. Slide the baking sheet into the oven and roast for 20-30 minutes. About halfway through cooking, give the sheet a good shake or stir the chickpeas to ensure even browning.
Check for Crispiness
Pull one chickpea out and let it cool for a moment. Taste it to check the crunch. If it’s not quite crisp enough, pop the tray back in the oven for another 3-5 minutes.
Cool and Serve
Remove the baking sheet from the oven. Let the chickpeas cool completely on the sheet. They’ll get even crispier as they cool down. Transfer to a serving bowl and enjoy right away as a crunchy snack or salad topper.
Which Tips Roast Chickpeas Evenly
Crunchy Roasted Chickpea Variations to Try
How to Serve Roasted Chickpeas Crisp
Best Storage Tips for Roasted Chickpeas
Roasted Chickpeas Common Questions
Can I make roasted chickpeas with canned or dried chickpeas?
Canned chickpeas work perfectly and save time. Just drain, rinse, and dry them thoroughly before roasting.
How crispy can chickpeas actually get?
Super crispy! The key is removing excess moisture and spreading them in a single layer. Patting them completely dry helps create that satisfying crunch.
What if my chickpeas turn out soft instead of crispy?
Ensure your chickpeas are bone-dry before seasoning and roasting. Excess moisture prevents crispiness, so use a clean kitchen towel and pat them completely dry.
Can I customize the seasoning?
Absolutely! Experiment with your favorite spices like curry powder, ranch seasoning, or taco blend. Just keep the base of olive oil and salt consistent.
How long do roasted chickpeas stay crispy?
They’re best eaten within 2-3 days when stored in an airtight container at room temperature. Pro tip: Reheat briefly in the oven to restore crispness.
Are roasted chickpeas healthy?
Chickpeas are packed with protein, fiber, and nutrients. Roasting them is a nutritious alternative to chips and provides a satisfying crunchy snack.

Roasted Chickpeas Recipe
- Total Time: 30-40 minutes
- Yield: 2 1x
Description
Roasted Chickpeas deliver a crunchy snack that will totally change your game plan for healthy munching. Packed with protein and seasoned just how you like, these golden nuggets make snacking feel like a total win.
Ingredients
Chickpea Base:
- 1 can chickpeas
Main Seasonings:
- 2 tablespoons olive oil
- 1 teaspoon smoked paprika
- ½ teaspoon garlic powder
- ¼ teaspoon cumin
- ¼ teaspoon chili powder
Supporting Seasonings:
- ¼ teaspoon onion powder
- ¼ teaspoon salt
- ⅛ teaspoon black pepper
Instructions
- Thoroughly rinse the 15-ounce can of chickpeas under cold water, ensuring complete drainage.
- Spread chickpeas onto a clean kitchen towel, gently patting them dry. Carefully remove the thin outer skins for maximum crispiness.
- Preheat your oven to exactly 400°F (200°C) with the rack positioned in the center.
- Mix 2 tablespoons olive oil with all dry seasonings in a medium mixing bowl, whisking until completely combined.
- Drop the dried chickpeas into the seasoning bowl, tossing them carefully to ensure every chickpea receives an even coating of spices.
- Arrange the seasoned chickpeas in a single, uncrowded layer across a large baking sheet, making sure no chickpeas are touching.
- Roast the chickpeas for exactly 25 minutes at 400°F, shaking the pan halfway through to promote even browning.
- Remove one chickpea and let it cool for 30 seconds. Test its crunchiness – it should crack when bitten. If not crisp enough, return to oven for additional 3-5 minutes.
- Once perfectly crisp and golden, transfer the baking sheet from the oven and allow chickpeas to cool completely at room temperature.
- Serve immediately or store in an airtight container to maintain crunchiness.
Notes
- Pat chickpeas completely dry to ensure maximum crispiness, as moisture prevents proper roasting.
- Remove chickpea skins for an extra-crunchy texture by gently rubbing them between two towels.
- Spread chickpeas in a single layer without overcrowding to help them roast evenly and become crisp.
- Experiment with different spice blends like curry powder, za’atar, or ranch seasoning for variety in flavor.
- Prep Time: 10 minutes
- Cook Time: 20-30 minutes
- Category: Roasted
- Method: Roasting
- Cuisine: Middle Eastern
Nutrition
- Serving Size: 2
- Calories: 243 kcal
- Sugar: 1 g
- Sodium: 300 mg
- Fat: 12 g
- Saturated Fat: 1.7 g
- Unsaturated Fat: 10.3 g
- Trans Fat: 0 g
- Carbohydrates: 28 g
- Fiber: 8 g
- Protein: 9 g
- Cholesterol: 0 mg
Daniel Navarro
Culinary Content Director
Expertise
Mexican-inspired Menus, Seasonal Restaurant Specials, Shared Plate Dining, Tequila Pairings, Chef-driven Recipes
Education
Daniel writes about bold flavors, chef-driven dishes, and the kind of restaurant moments that turn tacos, mezcal, and shared plates into a night worth repeating.