Crispy Oven Fried Chicken Wings Recipe for Game Day Feasts
Oven fried chicken wings deliver all the satisfaction of deep-fried favorites with far less fuss and mess in the kitchen.
You can enjoy crispy, golden perfection without standing over a pot of bubbling oil or dealing with splatter cleanup afterward.
The oven does most of the work while you relax, making weeknight dinners and casual gatherings effortlessly delicious.
Crowd-pleasing and satisfying, wings prepared in the oven strike that perfect balance between convenience and flavor that busy home cooks crave.
Whether for game day celebrations, family suppers, or laid-back entertaining, they never disappoint.
The technique produces results so good that guests often can't believe they weren't traditionally fried.
Once you experience how simple and foolproof the oven method can be, it becomes a regular on the dinner rotation.
Why You’ll Love Oven Fried Chicken Wings Crunch
Oven Fried Chicken Wings Ingredient Overview
Chicken Wings:Main Coating:Seasoning Blend:Salt and Pepper:Cooking Fat:Full Cooking Tools for Oven Chicken Wings
Cooking Directions for Crispy Chicken Wings
Warm Up the Oven
Fire up the oven to exactly 400 degrees Fahrenheit. Grab a baking sheet and line it with parchment paper so your wings won’t stick.
Create Flavor Coating
Grab a medium bowl and mix together your dry ingredients carefully. You’ll want to combine:
Whisk these together until everything looks evenly distributed.
Prepare the Chicken
Take those 2 pounds of chicken wings and roll them through the seasoned flour mixture. Make sure each wing gets a complete, even coating of the dry ingredients.
Arrange for Baking
Spread the flour-coated wings across your prepared baking sheet. They should sit in a single layer without crowding each other.
Add Some Moisture
Drizzle the 1/4 cup vegetable oil over the wings. This helps create that golden, crispy exterior everyone loves.
Bake to Perfection
Slide the baking sheet into the preheated oven. Bake for 40-45 minutes, and halfway through cooking, flip the wings so they brown evenly.
Check and Serve
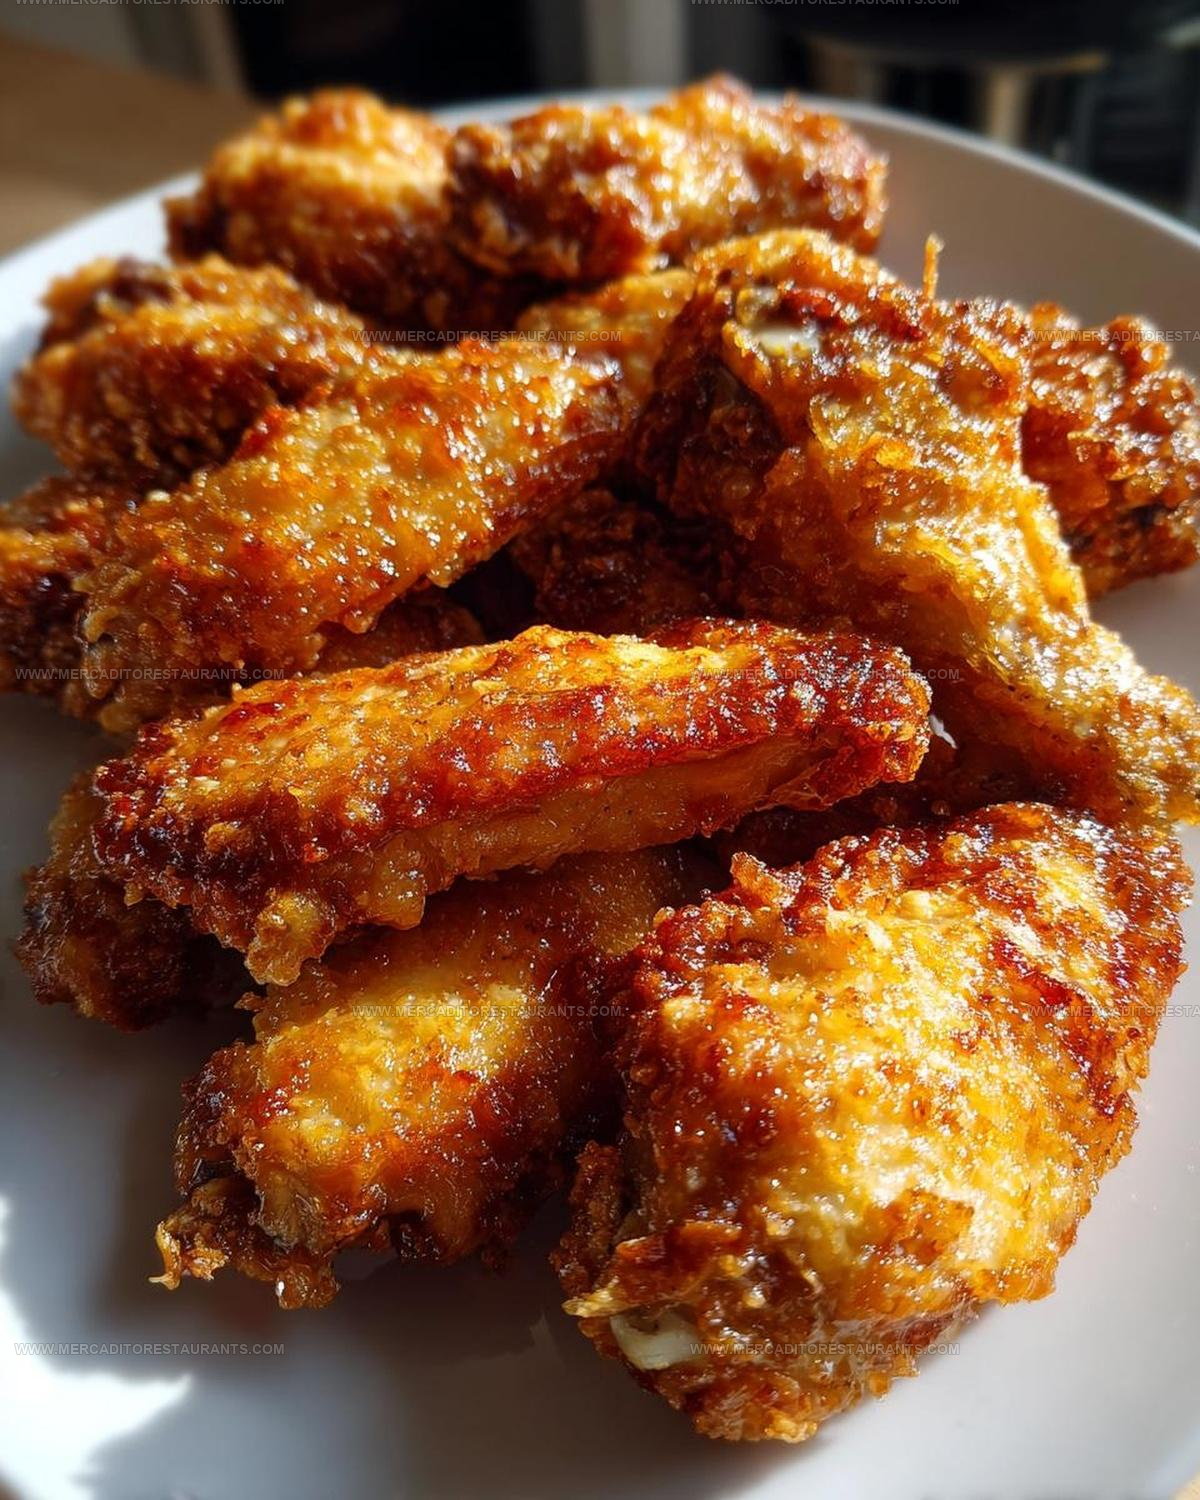
Pull the wings out when they’re a beautiful golden brown and look crispy. Let them rest for a few minutes before serving hot.
Helpful Tips for Crispy Oven-Fried Chicken Wings
Oven Fried Chicken Wings Variations
How Should Oven Fried Chicken Wings Be Paired
Oven Fried Chicken Wings Storage Notes
Oven Fried Chicken Wings Q&A
Can I use a different type of flour for coating?
Absolutely! All-purpose flour works best, but whole wheat or gluten-free flour alternatives can create a similar crispy texture for your wings.
How do I prevent the wings from sticking to the baking sheet?
Parchment paper or a light spray of cooking oil helps prevent sticking and makes cleanup easier.
What if my wings aren’t getting crispy enough?
Ensure your oven is fully preheated and drizzle extra oil over the wings. Placing them on a wire rack can also help air circulate and create extra crispiness.
Can I add extra spices to the flour mixture?
Definitely! Experiment with cayenne, chili powder, or dried herbs to customize your wing flavor.
Do frozen wings work with this recipe?
Thaw wings completely and pat them dry before coating to help the flour mixture stick and achieve maximum crispiness.
How can I tell if the wings are fully cooked?
Use a meat thermometer to check that the internal temperature reaches 165°F (74°C) at the thickest part of the wing.

Oven Fried Chicken Wings Recipe
- Total Time: 50-55 minutes
- Yield: 4 1x
Description
Golden oven fried chicken wings crispy perfection will make your dinner guests swoon with delight. Crunchy exterior and juicy meat come together faster than takeout, delivering restaurant-quality flavor straight from your kitchen.
Ingredients
Main Ingredients:
- 2 pounds chicken wings
Coating Ingredients:
- ½ cup all-purpose flour
- 1 teaspoon garlic powder
- 1 teaspoon onion powder
- 1 teaspoon paprika
- ½ teaspoon salt
- ½ teaspoon black pepper
Cooking Ingredients:
- ¼ cup vegetable oil
Instructions
- Blend ½ cup flour with 1 teaspoon each of garlic powder, onion powder, and paprika, plus ½ teaspoon salt and pepper in a shallow mixing bowl.
- Pat your chicken wings completely dry with paper towels to help them crisp perfectly.
- Roll each chicken wing thoroughly in the seasoned flour mixture, ensuring total coverage on all surfaces.
- Arrange the coated wings on a parchment-lined baking sheet, spacing them about 1 inch apart so they can crisp evenly.
- Drizzle ¼ cup vegetable oil across the wings, making sure each piece gets a light coating.
- Position the baking sheet in a preheated 400°F oven, placing it on the center rack for maximum heat circulation.
- Roast your wings for 22 minutes, then carefully flip each piece using tongs to ensure balanced browning.
- Continue baking another 20-22 minutes until the wings reach a deep golden brown with crispy exterior edges.
- Check internal temperature reaches 165°F using a meat thermometer for safe consumption.
- Allow wings to rest 5 minutes after removing from oven to let juices redistribute and maintain crispiness.
Notes
- Pat chicken wings completely dry before coating to achieve maximum crispiness.
- Use a wire rack on the baking sheet to allow hot air circulation and prevent soggy bottoms.
- For gluten-free adaptation, replace wheat flour with almond flour or gluten-free breadcrumbs.
- Experiment with different seasoning blends like Cajun, ranch, or BBQ spice mixes to change flavor profiles.
- Prep Time: 10 minutes
- Cook Time: 40-45 minutes
- Category: Oven-Fried
- Method: Baking
- Cuisine: American
Nutrition
- Serving Size: 4
- Calories: 430 kcal
- Sugar: 0 g
- Sodium: 390 mg
- Fat: 30 g
- Saturated Fat: 5 g
- Unsaturated Fat: 25 g
- Trans Fat: 0 g
- Carbohydrates: 8 g
- Fiber: 1 g
- Protein: 27 g
- Cholesterol: 90 mg
Isabella Romero
Hospitality & Beverage Editor
Expertise
Cocktail Culture, Tequila and Mezcal Knowledge, Guest Experience Writing, Restaurant Trends, Event Dining Guides
Education
- Program: B.A. in Hospitality Management
- Focus: Studied hospitality through a program built around theory and application, with practical preparation for restaurant and guest-experience careers in Chicago’s hospitality industry.
Wine & Spirit Education Trust (WSET)Isabella brings together cocktails, food culture, social dining, and the thoughtful details that make a meal feel memorable. Her content blends atmosphere, flavor, and hospitality in a warm, polished style that helps readers connect with the full dining experience, from the first sip to the last bite.