Crispy Baked Arancini Recipe for Golden Rice Balls
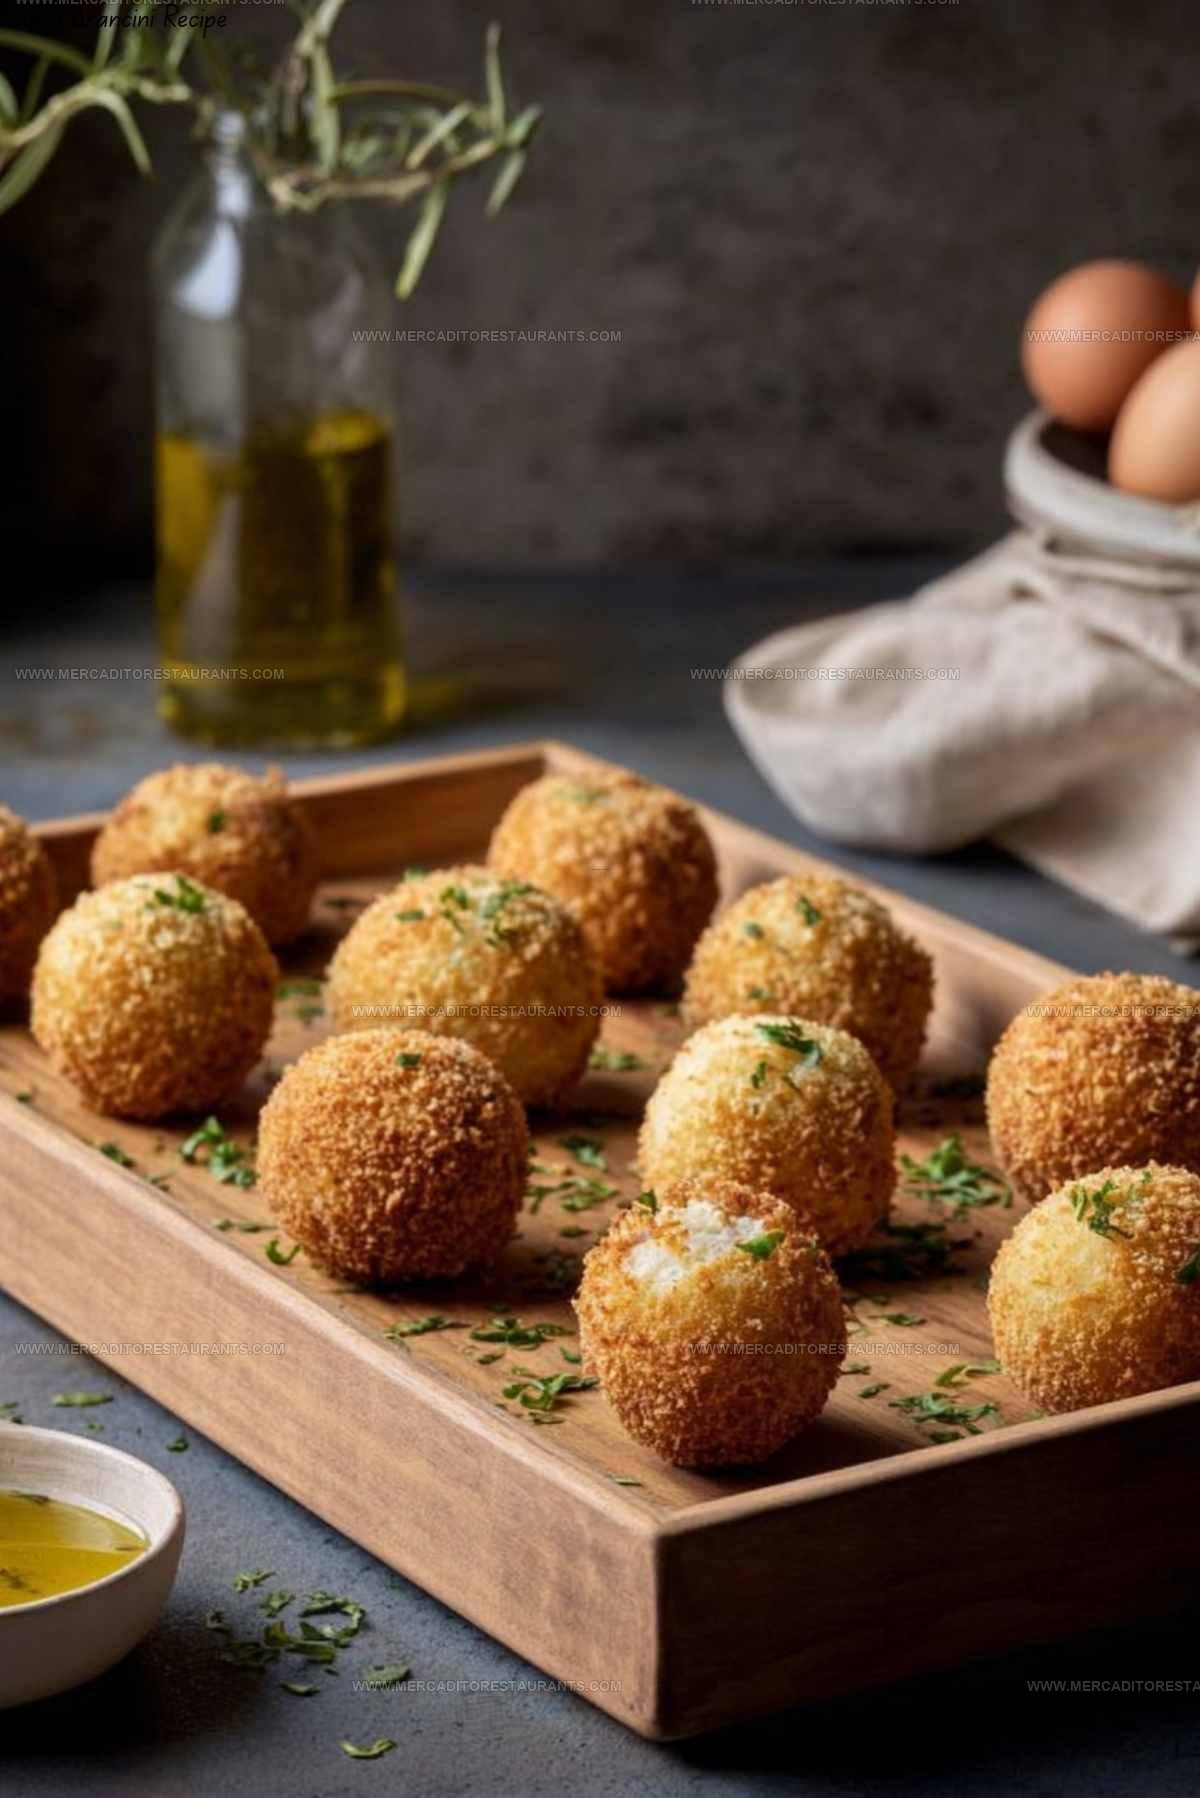
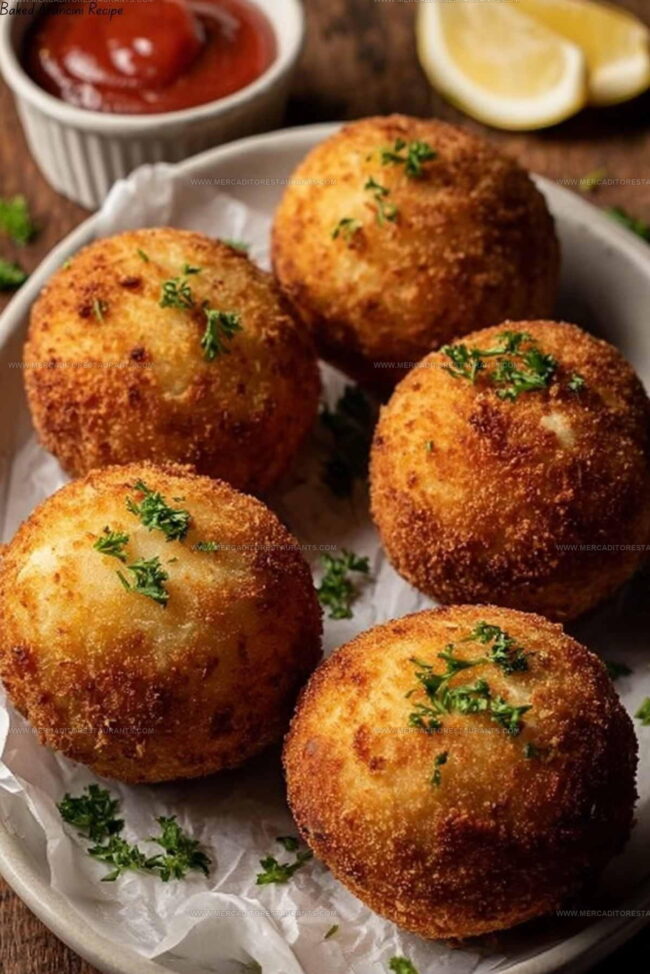
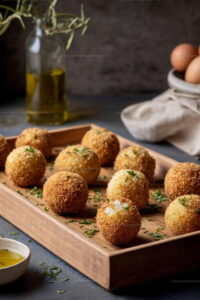
Baked arancini bring all the satisfaction of golden, crispy Italian rice balls without the hassle of deep frying.
Families across Sicily have cherished them for generations as comfort food that works beautifully for any occasion.
Whether you need a crowd-pleasing appetizer or a fun weeknight dinner, they deliver every time.
The crispy exterior gives way to a warm, savory center that makes everyone reach for seconds.
Even beginners can master them with straightforward techniques that feel approachable and rewarding.
You won't believe how simple they are to prepare at home with results that rival what restaurants charge premium prices for.
Head straight to the recipe below and see why they've become such a beloved dish worldwide.
Reasons Baked Arancini Is a Crowd-Pleasing Choice
What Ingredients Go Into Baked Arancini
Rice Base:Seasoning:Coating and Binding:Finishing Touch:Tools Behind Crispy Baked Arancini
Crispy Baked Arancini Cooking Directions
Prepare Rice Base
Heat 4 cups chicken broth in a large pot until simmering. Add 2 cups Arborio rice and cook until the rice absorbs the liquid and becomes tender, about 18-20 minutes. The rice should look creamy and feel soft when you taste a grain.
Season Rice Mixture
Remove the pot from heat and stir in these ingredients:
Mix everything until the cheeses start to melt slightly. Spread the rice mixture on a large plate and let it cool completely for about 30 minutes.
Create Cheese Centers
Grab a small handful of the cooled rice mixture and flatten it in your palm. Place a small cube of mozzarella in the center, then carefully roll the rice around the cheese to form a perfect ball. The cheese should be completely enclosed.
Coat Arancini
Set up two shallow dishes. In one, beat 2 eggs. In the other, spread 2 cups of bread crumbs. Roll each rice ball first in the beaten eggs, then roll thoroughly in bread crumbs until completely covered.
Prepare for Baking
Preheat your oven to 425°F. Place the coated rice balls on a baking sheet lined with parchment paper. Lightly brush each ball with olive oil to help them turn golden and crisp.
Bake to Perfection
Slide the baking sheet into the preheated oven and bake for 20-25 minutes. Watch for a beautiful golden-brown color and a crispy exterior. The cheese inside should be melted and gooey when you bite into them.
Which Tips Keep Baked Arancini Crisp Outside
Which Baked Arancini Variations to Try
Serving Ideas for Crispy Baked Arancini
How to Store Crispy Baked Arancini
Crispy Baked Arancini FAQ Guide
Can I make arancini ahead of time?
Absolutely prepare the rice balls up to a day before, store them covered in the refrigerator, and bake when ready to serve.
What if my rice balls fall apart?
Ensure the rice is cooled completely and packed tightly when forming balls. Chilling the mixture helps them hold together better.
Are arancini supposed to be crispy?
Yes! The bread crumb coating creates a delicious golden crunch when baked or fried. Make sure to coat them evenly for the best texture.
Can I freeze uncooked arancini?
Freeze the prepared rice balls on a baking sheet, then transfer to a freezer bag. Thaw in the refrigerator before baking.
Is Arborio rice essential?
Arborio works best because of its high starch content, which helps the balls stick together. Short-grain rice can work as a substitute.
What cheese works best inside arancini?
Mozzarella creates great melty pockets. Parmesan adds depth of flavor. Experiment with your favorite melting cheeses.
Crispy Baked Arancini Recipe
- Total Time: 45 minutes
- Yield: 5 to 6 1x
Description
Baked Arancini brings the heart of Sicily right to your kitchen with crispy rice balls packed with cheesy goodness. Stuffed with mozzarella and coated in golden breadcrumbs, these little treasures are perfect for your next gathering or afternoon snack.
Ingredients
Main Ingredients:
- 2 cups Arborio rice
- 4 cups chicken broth
- 1 cup mozzarella cheese cubed
- ½ cup grated Parmesan cheese
Binding Ingredients:
- 2 eggs
- 2 cups bread crumbs
Seasoning and Finishing:
- ¼ cup chopped parsley
- Salt and pepper to taste
- Olive oil for brushing
Instructions
- Pour 4 cups chicken broth into a medium saucepan and heat until simmering. Add 2 cups Arborio rice and cook for 18-20 minutes, stirring occasionally until the rice absorbs liquid and becomes tender.
- Remove rice from heat and mix in ½ cup Parmesan cheese, 1 cup cubed mozzarella, ¼ cup chopped parsley, salt, and pepper. Spread the mixture on a flat pan and refrigerate for 30 minutes to cool completely.
- Preheat your oven to 425°F. Whisk 2 eggs in a shallow bowl. Place 2 cups bread crumbs in another bowl.
- Shape the chilled rice mixture into 2-inch round balls using your hands. Roll each ball first in whisked eggs, then coat completely with bread crumbs.
- Arrange the arancini on a parchment-lined baking sheet. Brush each ball lightly with olive oil to help them crisp and brown.
- Bake the arancini for 20-25 minutes, turning once halfway through, until they turn golden brown and develop a crispy exterior.
- Remove from oven and let the arancini rest for 5 minutes before serving to allow the cheese inside to settle.
Notes
- Chill the rice mixture completely before forming balls to help them hold their shape and prevent falling apart during baking.
- Use fresh breadcrumbs for a crunchier exterior that browns more evenly and provides better texture.
- Experiment with different cheese fillings like blue cheese or goat cheese to create unique flavor variations.
- For a gluten-free version, swap regular breadcrumbs with gluten-free panko or crushed rice crackers to maintain the crispy coating.
- Prep Time: 20 minutes
- Cook Time: 25 minutes
- Category: Baked
- Method: Baking
- Cuisine: Italian
Nutrition
- Serving Size: 5 to 6
- Calories: 344 kcal
- Sugar: 1 g
- Sodium: 450 mg
- Fat: 9 g
- Saturated Fat: 4 g
- Unsaturated Fat: 5 g
- Trans Fat: 0 g
- Carbohydrates: 51 g
- Fiber: 2 g
- Protein: 17 g
- Cholesterol: 55 mg
Daniel Navarro
Culinary Content Director
Expertise
Mexican-inspired Menus, Seasonal Restaurant Specials, Shared Plate Dining, Tequila Pairings, Chef-driven Recipes
Education
Daniel writes about bold flavors, chef-driven dishes, and the kind of restaurant moments that turn tacos, mezcal, and shared plates into a night worth repeating.