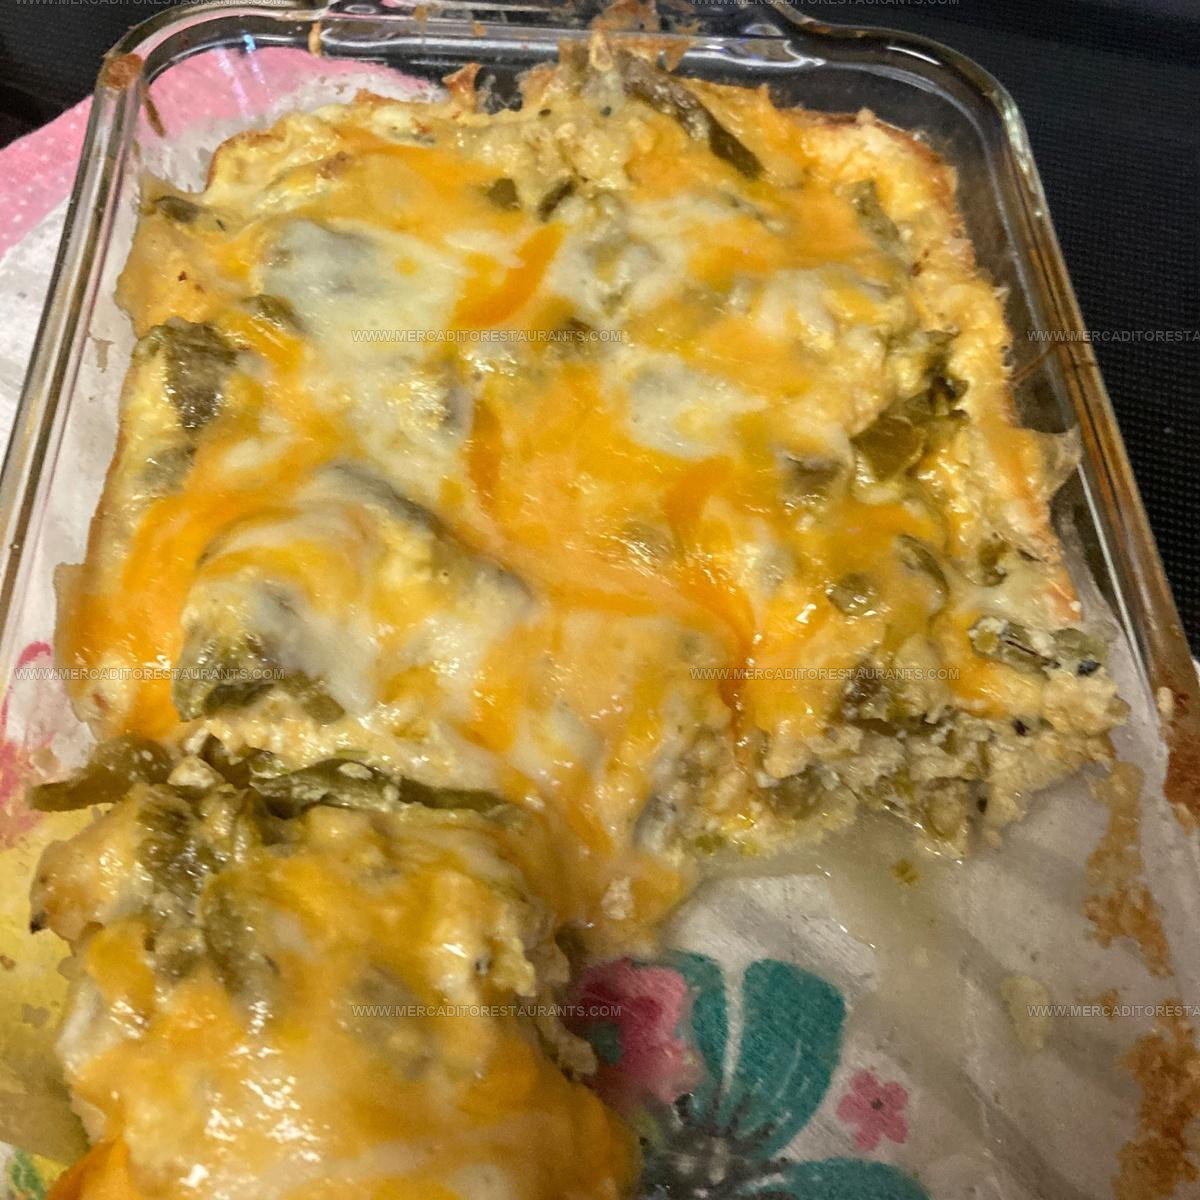
Chili Rellenos Casserole Recipe That Feeds a Crowd
Chili rellenos casserole takes all the bold flavors of the beloved Mexican classic and transforms them into an easy-to-serve dish that feeds a crowd with minimal fuss.
This comforting bake has become a weeknight favorite for families who crave something satisfying without spending hours in the kitchen.
The beauty lies in how effortlessly it comes together while still maintaining that authentic taste everyone loves at their favorite Mexican restaurant.
Smoky, mild heat combines with creamy, melty goodness in every bite, making it perfect for busy evenings or casual weekend gatherings.
You can serve it for breakfast, brunch, lunch, or dinner—it's that versatile and always hits the spot.
Leftovers taste just as good the next day, which makes meal planning throughout the week so much simpler.
One pan, simple prep, and maximum flavor mean you spend less time cooking and more time enjoying dinner with loved ones.
Pull up a chair and get that oven preheated!
Why Chili Rellenos Casserole Works
Essential Ingredients for Chili Rellenos Casserole
Main Ingredients:Essential Kitchen Tools for Chili Rellenos Casserole
The Process for Making Chili Rellenos Casserole
Prep the Oven
Heat your oven to 350°F. Grab a 9×13-inch baking dish and give it a quick spray with cooking spray so nothing sticks.
First Cheese Layer
Spread out those green chile peppers across the bottom of the dish. Here’s how to do the cheese:
Sprinkle half the cheese over the peppers.
Add Second Layer
Create another layer exactly like the first one:
Mix the Liquid Base
Grab a mixing bowl and whisk together:
If the mixture seems too thick, splash in ½ cup of milk to thin it out.
Pour and First Bake
Carefully pour the egg mixture over all the layers. Slide the dish into the 350°F oven and bake for 25 minutes.
Add Sauce
After 25 minutes, pull out the dish and pour 1 can (8 oz) of tomato sauce evenly across the top. Return to the oven for another 15 minutes.
Final Cheese Topping
Switch your oven to broil. Sprinkle any remaining cheese on top and broil for 2-3 minutes until the cheese turns golden and bubbly.
Serve Hot
Remove from the oven and let it sit for a few minutes. Scoop out generous portions and serve while it’s warm and delicious.
Making It Better With Chili Rellenos Casserole
Easy Variations for Chili Rellenos Casserole
Best Ways To Serve Chile Relleno Casserole
What’s The Proper Storage For Chili Rellenos Casserole
Chili Rellenos Casserole Questions And Answers
Are green chiles too spicy for my family?
Green chiles are typically mild. Most kids and adults who don’t like super hot food can enjoy this casserole without worrying about intense heat.
Can vegetarians make this dish?
Absolutely. Just swap the regular cheese for vegetarian cheese and use egg substitutes to create a delicious meatless version.
What if fresh chiles are hard to find?
Canned whole green chiles work perfectly. They’re convenient and provide the same authentic flavor for your casserole.
Do I need special equipment to prepare this?
A standard 9×13 baking dish and basic mixing bowls are all your kitchen requires for this simple recipe.
How do I know when the casserole is fully cooked?
The eggs will set firmly and look slightly puffy. A knife inserted near the center should come out clean when the dish is done.
Can I prepare this ahead of time?
Assemble the casserole earlier in the day, cover, and refrigerate. Just add an extra 5-10 minutes to baking time when ready to cook.

Chili Rellenos Casserole Recipe
- Total Time: 53 minutes
- Yield: 4 1x
Description
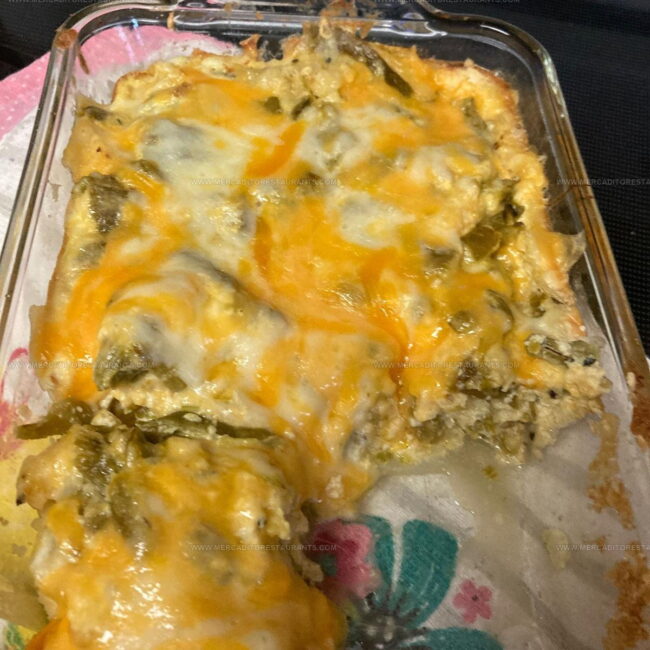
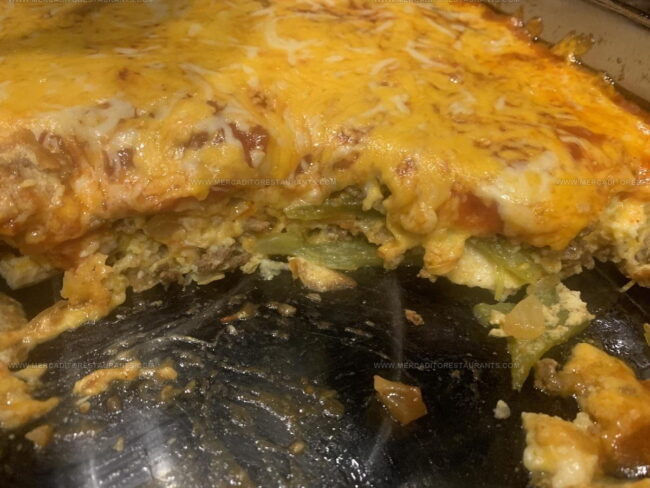
Chili rellenos casserole brings layers of spicy, cheesy goodness straight from Mexican kitchens to your dinner table. Packed with roasted peppers and melted cheese, this hearty dish delivers a delicious shortcut to traditional chile relleno flavor without the complex preparation.
Ingredients
Main Ingredients:
- 2 cans (7 oz each) green chile peppers
- 8 oz Monterey Jack cheese
- 8 oz Longhorn cheese
- 8 oz Cheddar cheese
- 2 large eggs
Supporting Ingredients:
- 1 can (5 oz) evaporated milk
- 2 tablespoons all-purpose flour
- ½ cup milk
Garnish and Preparation:
- 1 can (8 oz) tomato sauce
- 1 cooking spray
Instructions
- Prepare your 9×13-inch baking dish by generously coating with cooking spray. Preheat the oven to 350°F, ensuring your rack is centered.
- Drain 2 cans (7 oz each) of green chile peppers completely. Spread half the peppers across the bottom of your prepared dish.
- Sprinkle 4 oz of shredded Monterey Jack cheese evenly over the peppers. Layer the remaining chile peppers on top.
- Scatter another 4 oz of shredded cheese over the second pepper layer, creating a rich cheese barrier.
- Whisk 2 large eggs with 1 can (5 oz) of evaporated milk and 2 tablespoons of all-purpose flour until smooth. Add ½ cup milk if mixture seems too thick.
- Carefully pour the egg mixture over your layered peppers and cheese, ensuring even distribution.
- Bake at 350°F for 25 minutes until the center begins to set and edges turn golden.
- Remove the casserole and spread 1 can (8 oz) of tomato sauce across the surface. Return to the oven.
- Bake for another 15 minutes until the sauce is heated through and casserole looks slightly puffy.
- Switch your oven to broil. Sprinkle remaining cheese on top and broil for 2-3 minutes until cheese melts and bubbles.
- Let the casserole rest for 5 minutes before serving to allow it to set and cool slightly.
Notes
- Roast your own chiles for deeper, smokier flavor that store-bought chiles can’t match.
- Choose poblano peppers for authentic Mexican taste, ensuring they’re fresh and firm when selecting.
- Room temperature eggs blend more smoothly into the milk mixture, creating a more consistent texture.
- Drain canned green chiles completely to prevent excess moisture from making your casserole soggy.
- Prep Time: 10 minutes
- Cook Time: 43 minutes
- Category: Casseroles
- Method: Baking
- Cuisine: Mexican
Nutrition
- Serving Size: 4
- Calories: 210 kcal
- Sugar: 3 g
- Sodium: 540 mg
- Fat: 14 g
- Saturated Fat: 7 g
- Unsaturated Fat: 6 g
- Trans Fat: 0.2 g
- Carbohydrates: 10 g
- Fiber: 2 g
- Protein: 12 g
- Cholesterol: 165 mg
Daniel Navarro
Culinary Content Director
Expertise
Mexican-inspired Menus, Seasonal Restaurant Specials, Shared Plate Dining, Tequila Pairings, Chef-driven Recipes
Education
Daniel writes about bold flavors, chef-driven dishes, and the kind of restaurant moments that turn tacos, mezcal, and shared plates into a night worth repeating.