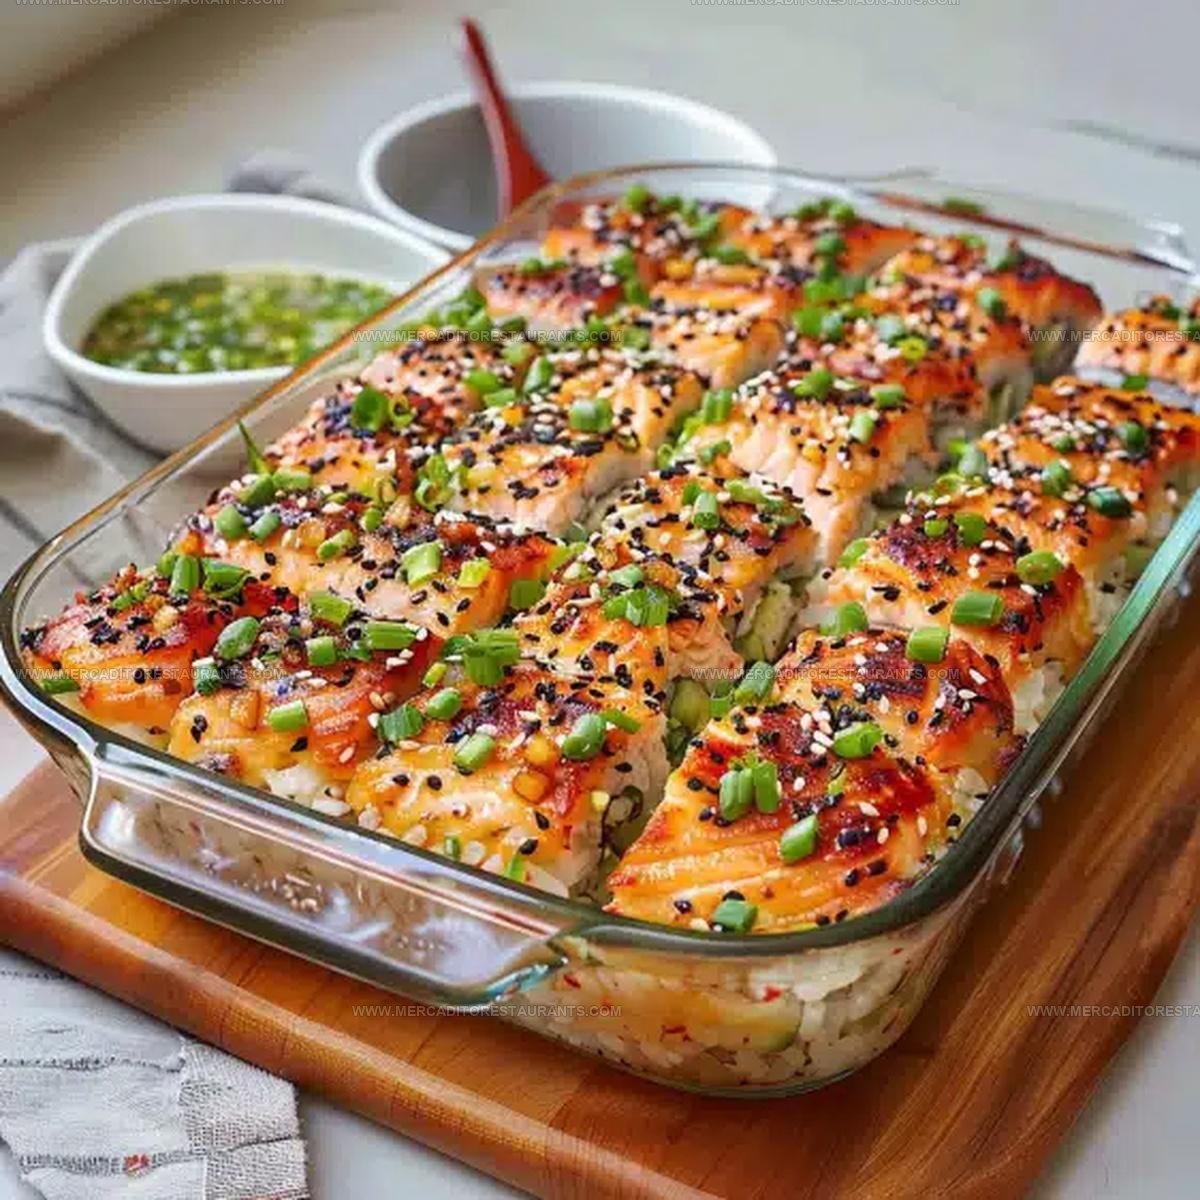
Cheesy Salmon Sushi Bake Recipe To Scoop Warm
Cheesy salmon sushi bake has become a modern favorite for anyone who loves comforting casseroles with bold flavors.
This dish gives all the satisfaction of Japanese-inspired cuisine in a warm, shareable format that feels both familiar and exciting.
The creamy texture paired with savory notes makes every bite memorable, whether you serve it at casual gatherings or weeknights at home.
People appreciate how this baked creation offers convenience without sacrificing taste or appeal.
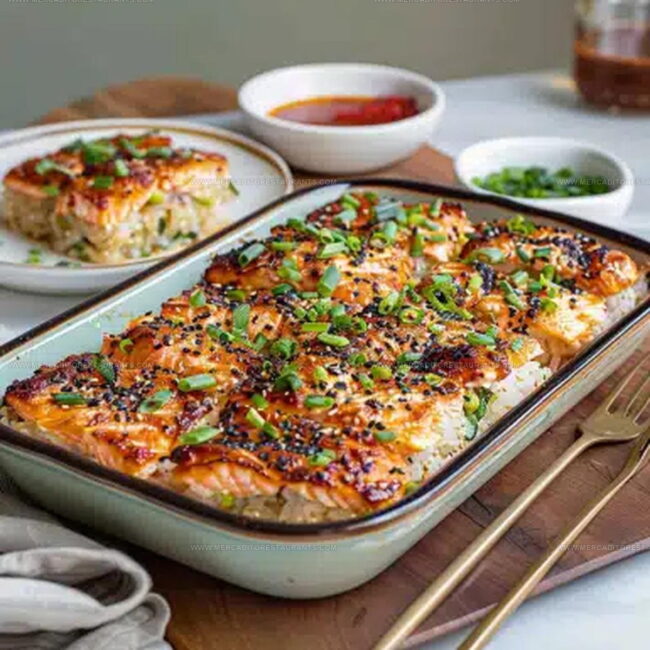
You can count on rave reviews when this comes out of the oven looking golden and bubbling.
Start cooking now and watch everyone come back for seconds!
Hot, Creamy, and Melt-in-Your-Mouth Comfort of Salmon Sushi Bake
Key Ingredients That Power Salmon Sushi Bake

Bakeware and Tools for Sushi Bake Success
Steps to the Layering Method for a Cheesy Salmon Sushi Bake
Prepare the Oven
Heat your oven to 400°F (200°C). Grab an 8×8-inch baking dish and give it a quick spray of cooking oil so nothing sticks.
Season the Rice
In a mixing bowl, combine 2 cups (380g) of cooked short-grain white rice with 2 tablespoons rice vinegar, 1 tablespoon granulated sugar, and 1/2 teaspoon salt. Gently mix these together until the rice is evenly coated. Set the bowl aside for a moment.
Prepare the Salmon
Cook your 12 oz (340g) salmon fillets until they’re just done. Let them cool down slightly, then use a fork to break the fish into small flakes. This will make your salmon mixture super smooth.
Create the Salmon Mixture
Grab another bowl and mix together:
Stir everything until it becomes a creamy, well-combined mixture.
Layer the Base
Spread your seasoned rice evenly across the prepared baking dish. Sprinkle 1 tablespoon of furikake over the rice for an extra flavor boost.
Add Salmon and Cheese
Spread the salmon mixture on top of the rice. Sprinkle 1/2 cup shredded mozzarella cheese over the salmon. Dust the remaining furikake on top for that classic sushi bake look.
Bake to Perfection
Slide the dish into the 400°F (200°C) oven and bake for 10-15 minutes. Your goal is melted, bubbly cheese. For a golden finish, switch to broil for 1-2 minutes at the end.
Final Touches
Pull the bake out of the oven. Drizzle some extra Kewpie mayo and Sriracha on top. Serve immediately with nori sheets, avocado slices, cucumber matchsticks, pickled ginger, and extra green onions.
Tips for Creamy Texture and Crisp Top
Hot and Cheesy Seafood Pivots for Salmon Sushi Bake
Hot and Cheesy Seafood Layouts For Sushi Bake
Hot Seafood Casserole Freshness Standards For Sushi Bake
Everything to Know for a Hot and Cheesy Salmon Sushi Bake
What kind of salmon works best for this recipe?
Fresh salmon fillets are perfect. Canned salmon also works great if you prefer a budget-friendly option. Always choose boneless salmon for easier preparation.
Can I make this dish spicier?
Absolutely! Increase the Sriracha amount or add extra hot sauce to match your preferred heat level. Some people mix in chili flakes for extra kick.
Do I need special equipment to make this recipe?
No special tools required. A standard baking dish, mixing bowls, and basic kitchen utensils are all you need to create this delicious dish.
Is this recipe gluten-free?
Not automatically. Check your soy sauce and mayonnaise labels for gluten-free versions. Replace standard soy sauce with tamari for a gluten-free alternative.
Can I prepare this ahead of time?
Definitely! Assemble the dish and refrigerate before baking. Just add 5-10 minutes to the baking time when cooking directly from the refrigerator.
What if I cannot find furikake?
Create a simple substitute by mixing dried seaweed, sesame seeds, and salt. Many grocery stores now carry furikake in the Asian food section.

Cheesy Salmon Sushi Bake Recipe
- Total Time: 35-37 minutes
- Yield: 4 1x
Description
Salmon sushi bake brings together the best of Japanese and modern fusion cuisine in one delectable pan. Creamy, flavorful salmon gets layered over seasoned sushi rice and topped with crispy nori, creating a delicious twist on traditional sushi that makes your dinner table come alive with excitement.
Ingredients
Protein and Seafood:
- 2 salmon fillets (about 12 oz / 340g), cooked and flaked
- 1 cup Kewpie mayonnaise (or regular mayo)
- 1 tablespoon Sriracha (adjust to taste)
- 2 teaspoons soy sauce
- 2 teaspoons sesame oil
Base and Rice:
- 2 cups cooked short-grain white rice (about 380g)
- 2 tablespoons rice vinegar
- 1 tablespoon granulated sugar
- 0.5 teaspoon salt
Toppings and Garnishes:
- 0.5 cup shredded mozzarella cheese
- 2 tablespoons furikake (Japanese seasoning)
- 2 green onions, finely chopped
- Roasted seaweed (nori) sheets or snack-size nori
- Extra Kewpie mayo
- Extra Sriracha
- Avocado slices
- Cucumber matchsticks
- Pickled ginger
- Extra green onions
Instructions
- Warm your oven to precisely 400°F (200°C). Coat an 8×8-inch baking dish with a light spray of cooking oil to prevent sticking.
- Mix 2 cups (380g) of cooked short-grain rice with 2 tablespoons rice vinegar, 1 tablespoon sugar, and ½ teaspoon salt. Blend gently until ingredients are evenly distributed.
- Cook 12 oz (340g) salmon fillets until just tender. Let them rest for 2-3 minutes, then break into small flakes using a fork.
- Combine flaked salmon with ¼ cup Kewpie mayonnaise, 1 tablespoon Sriracha, 2 teaspoons soy sauce, and 2 teaspoons sesame oil. Fold in 2 finely chopped green onions.
- Spread rice in a uniform layer across the baking dish. Dust the surface with 1 tablespoon furikake for an extra flavor boost.
- Layer the salmon mixture over the rice, ensuring even coverage. Sprinkle ½ cup mozzarella cheese across the top and dust with remaining furikake.
- Slide the dish into the preheated oven. Bake for 12-15 minutes until cheese melts completely and edges turn golden.
- Switch oven to broil. Cook for an additional 1-2 minutes to create a crispy, caramelized cheese top.
- Remove from oven and drizzle with extra Kewpie mayo and Sriracha. Serve immediately with nori sheets and optional garnishes.
Notes
- Always cook rice ahead of time and let it cool to room temperature for the best texture and consistency.
- Flake salmon gently with a fork to create a tender, flavorful mixture that blends smoothly with other ingredients.
- Choose high-quality fresh salmon for the most delicious and rich flavor profile in your bake.
- For a gluten-free version, swap regular soy sauce with tamari and ensure your furikake is gluten-free.
- Prep Time: 20 minutes
- Cook Time: 15-17 minutes
- Category: Baked
- Method: Baking
- Cuisine: Japanese-American
Nutrition
- Serving Size: 4
- Calories: 433 kcal
- Sugar: 5 g
- Sodium: 600 mg
- Fat: 23 g
- Saturated Fat: 7 g
- Unsaturated Fat: 14 g
- Trans Fat: 0 g
- Carbohydrates: 33 g
- Fiber: 2 g
- Protein: 28 g
- Cholesterol: 60 mg
Daniel Navarro
Culinary Content Director
Expertise
Mexican-inspired Menus, Seasonal Restaurant Specials, Shared Plate Dining, Tequila Pairings, Chef-driven Recipes
Education
Daniel writes about bold flavors, chef-driven dishes, and the kind of restaurant moments that turn tacos, mezcal, and shared plates into a night worth repeating.