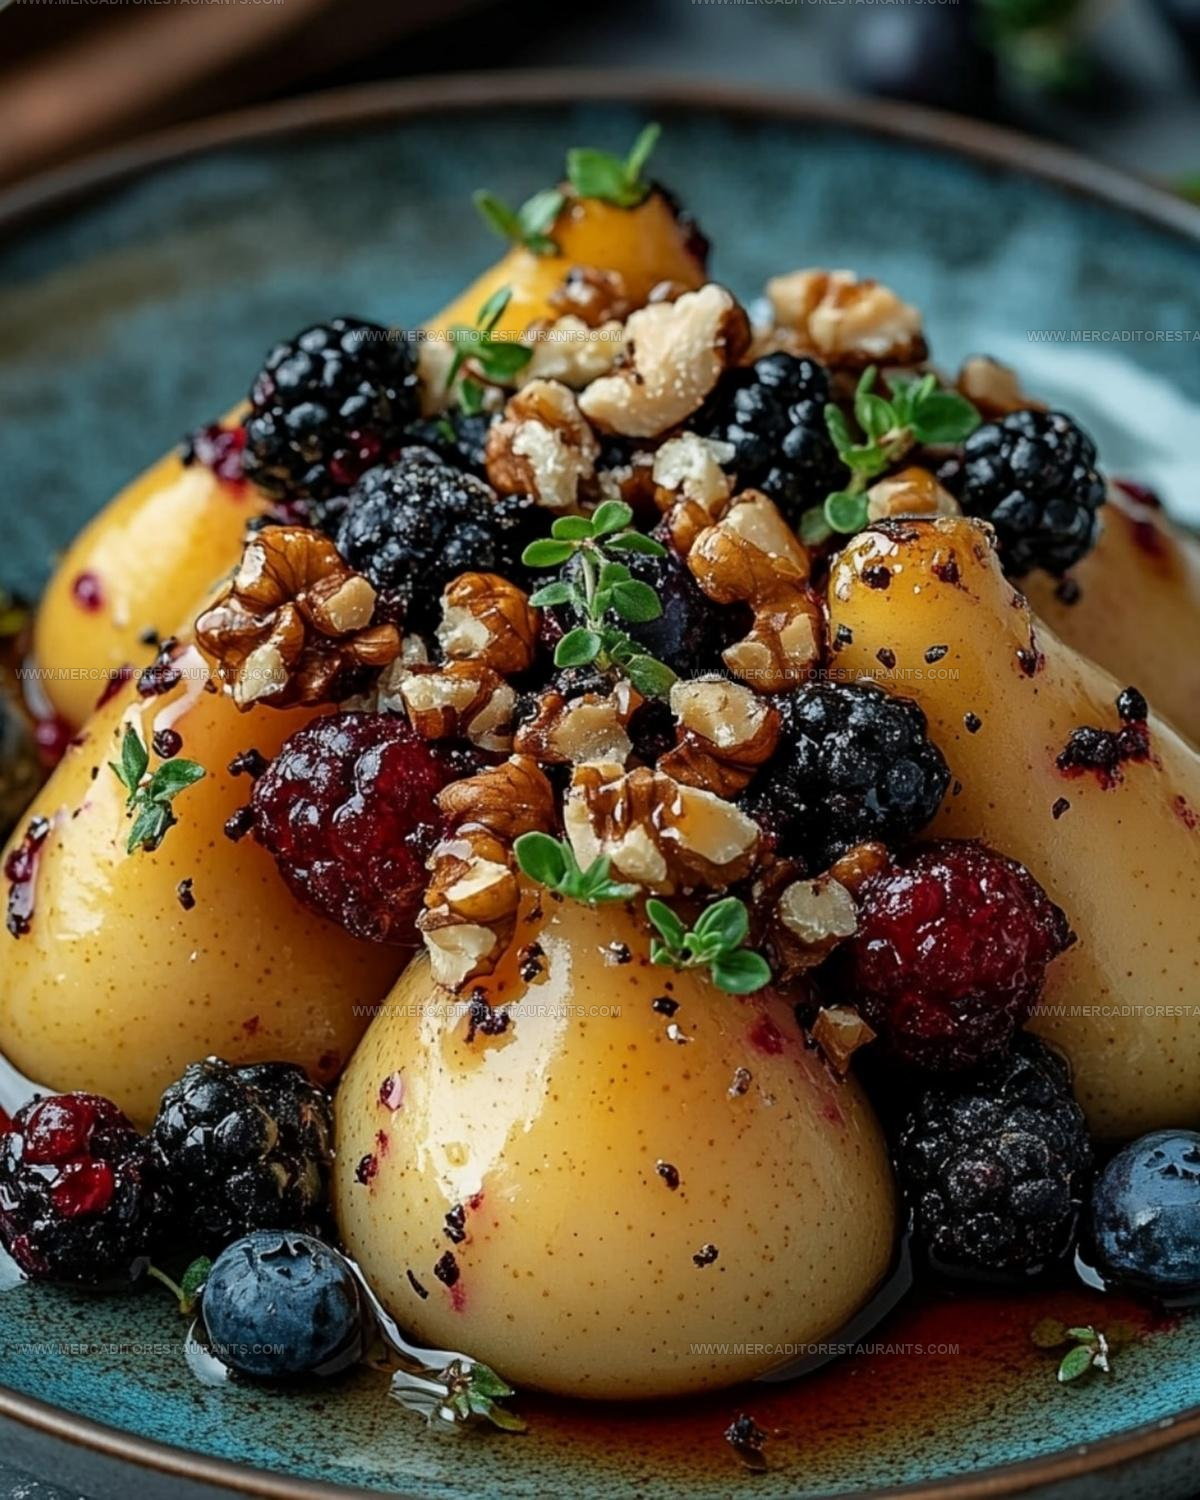
Warm Baked Pears Recipe with Fresh Berries and Crunchy Walnuts
Baked pears with berries and wonuts recipe is one of those desserts that feels fancy but comes together with minimal effort.
Warm fruit becomes incredibly tender in the oven, developing a natural sweetness that makes every bite satisfying.
Nuts add a wonderful crunch that contrasts beautifully with the soft texture, while berries provide brightness and color.
Whether you need something special for dinner guests or just want to enjoy a cozy evening treat, it works perfectly.
The aroma that fills the kitchen while it bakes is absolutely delightful.
Serving this dessert shows thoughtfulness without requiring advanced skills or hours of preparation.
When you want comfort and elegance on the same plate, few options deliver quite as well as this one does.
The Best Parts of Baked Pears with Blue Cheese
Baked Pear and Berry Ingredients List
Main Ingredients:Flavor Enhancers:Kitchen Tools Used for Baked Pears with Honey and Blue Cheese
Baked Pears with Berries and Blue Cheese Assembly Guide
Preheat the Oven
Set your oven to exactly 375°F. Grab a baking sheet and line it with parchment paper so cleanup will be super easy later.
Prepare the Pears
Grab 4 ripe pears and slice each one in half. Use a spoon to carefully scoop out the core from each half. Arrange the pear halves cut-side up on your prepared baking sheet.
Add Sweet and Spicy Flavor
Drizzle each pear half with 2 tablespoons of honey. Then sprinkle 1 teaspoon of ground cinnamon over the pears. If you want extra richness, brush a tiny bit of melted butter across the surface.
Create the Delicious Topping
Distribute the toppings generously across each pear half:
Make sure every pear gets a nice even coating of these tasty ingredients.
Bake the Pears
Slide the baking sheet into the preheated oven. Roast for exactly 20-25 minutes. You’ll know they’re done when the pears turn fork-tender and the cheese starts to get slightly melty.
Serve and Enjoy
Pull the pears out of the oven. For a final touch, drizzle a bit more honey on top and scatter some fresh berries around the plate. Serve these right away while they’re warm and delicious.
Which Tips Work Best for Baked Pears with Blue Cheese
Baked Pears with Berries and Blue Cheese in New Combinations
Dairy-Free Delight: Swap blue cheese with creamy coconut yogurt or almond-based soft cheese for a plant-based alternative that keeps the recipe’s rich, tangy flavor profile.
Gluten-Free Wellness: No changes needed – this recipe is naturally gluten-free, perfect for those avoiding wheat-based ingredients.
Nutty Alternative: Replace walnuts with toasted pumpkin seeds or sliced almonds if tree nuts aren’t your preference or you need a different crunchy element.
Caramelized Fruit Spin: Substitute pears with halved firm peaches or nectarines during summer months for a seasonal variation that brings fresh brightness to the dish.
How to Serve Baked Pears with Blue Cheese and Honey
How to Refrigerate Baked Pears with Blue Cheese
Baked Pears with Berries and Blue Cheese FAQ
Can I use different types of pears?
Absolutely! Bartlett, Anjou, or Bosc pears work perfectly. Just select ripe but firm pears that hold their shape during baking.
How do I know when the pears are done?
Check for tenderness by inserting a fork – it should slide in smoothly without resistance. The edges will look slightly caramelized and the cheese will be softly melted.
Are there any substitutions for blue cheese?
Goat cheese or feta are excellent alternatives if blue cheese isn’t your preference. Both offer similar tangy notes that complement the sweet pears.
Can I make this dessert ahead of time?
Prepare the pears just before baking for the best texture. You can slice and core them earlier, but add toppings right before roasting to prevent soggy fruit.
What if my pears are not completely ripe?
Select firmer pears and increase baking time by 3-5 minutes. The honey and roasting will help soften them beautifully.
Is this recipe gluten-free?
Yes, this baked pear dish is naturally gluten-free. Double-check your honey and blue cheese brands to ensure no gluten-containing additives.

Baked Pears with Berries and Walnuts Recipe
- Total Time: 30-35 minutes
- Yield: 4 1x
Description
Baked pears with berries honey walnuts blue cheese brings sweet and savory flavors together in a simple dessert that feels like a warm hug from your favorite bakery. Crisp pears melt with creamy blue cheese, while honey and walnuts add the perfect crunch to this delightful treat.
Ingredients
Main Ingredients:
- 4 pears
- 0.5 cup mixed berries
- 2 ounces blue cheese
Supporting Ingredients:
- 0.25 cup chopped walnuts
- 2 tablespoons honey
Seasoning/Spices:
- 1 teaspoon ground cinnamon
- 1 pinch sea salt
Instructions
- Crank your oven to 375°F and line a baking sheet with parchment paper for hassle-free cleanup.
- Carefully halve 4 ripe pears and scoop out their cores using a spoon. Position them cut-side facing upward on the prepared baking sheet.
- Drizzle 2 tablespoons of honey across each pear half and dust with 1 teaspoon of ground cinnamon. Brush with a touch of melted butter for deeper caramelization if desired.
- Scatter ½ cup of mixed berries, ¼ cup of chopped walnuts, and 2 ounces of crumbled blue cheese evenly over your pear halves.
- Slide the baking sheet into the preheated oven and roast for 20-25 minutes, watching for pears to become fork-tender and cheese to start melting softly.
- Pull your creation from the oven and finish with an extra honey drizzle and a few fresh berries. Serve these warm to capture their most incredible texture.
Notes
- Check pear ripeness by gently pressing near the stem, which should yield slightly without being mushy.
- Substitute blue cheese with goat cheese or feta if blue cheese isn’t your preference, creating a milder flavor profile.
- Select firm but ripe pears like Bosc or Anjou, which hold their shape beautifully during roasting and caramelize nicely.
- Toast walnuts briefly in a dry skillet before adding to enhance their nutty flavor and create a more complex taste experience.
- Prep Time: 10 minutes
- Cook Time: 20-25 minutes
- Category: Baked
- Method: Roasting
- Cuisine: American
Nutrition
- Serving Size: 4
- Calories: 255 kcal
- Sugar: 25 g
- Sodium: 210 mg
- Fat: 16 g
- Saturated Fat: 4 g
- Unsaturated Fat: 12 g
- Trans Fat: 0 g
- Carbohydrates: 27 g
- Fiber: 5 g
- Protein: 6 g
- Cholesterol: 15 mg
Isabella Romero
Hospitality & Beverage Editor
Expertise
Cocktail Culture, Tequila and Mezcal Knowledge, Guest Experience Writing, Restaurant Trends, Event Dining Guides
Education
- Program: B.A. in Hospitality Management
- Focus: Studied hospitality through a program built around theory and application, with practical preparation for restaurant and guest-experience careers in Chicago’s hospitality industry.
Wine & Spirit Education Trust (WSET)Isabella brings together cocktails, food culture, social dining, and the thoughtful details that make a meal feel memorable. Her content blends atmosphere, flavor, and hospitality in a warm, polished style that helps readers connect with the full dining experience, from the first sip to the last bite.