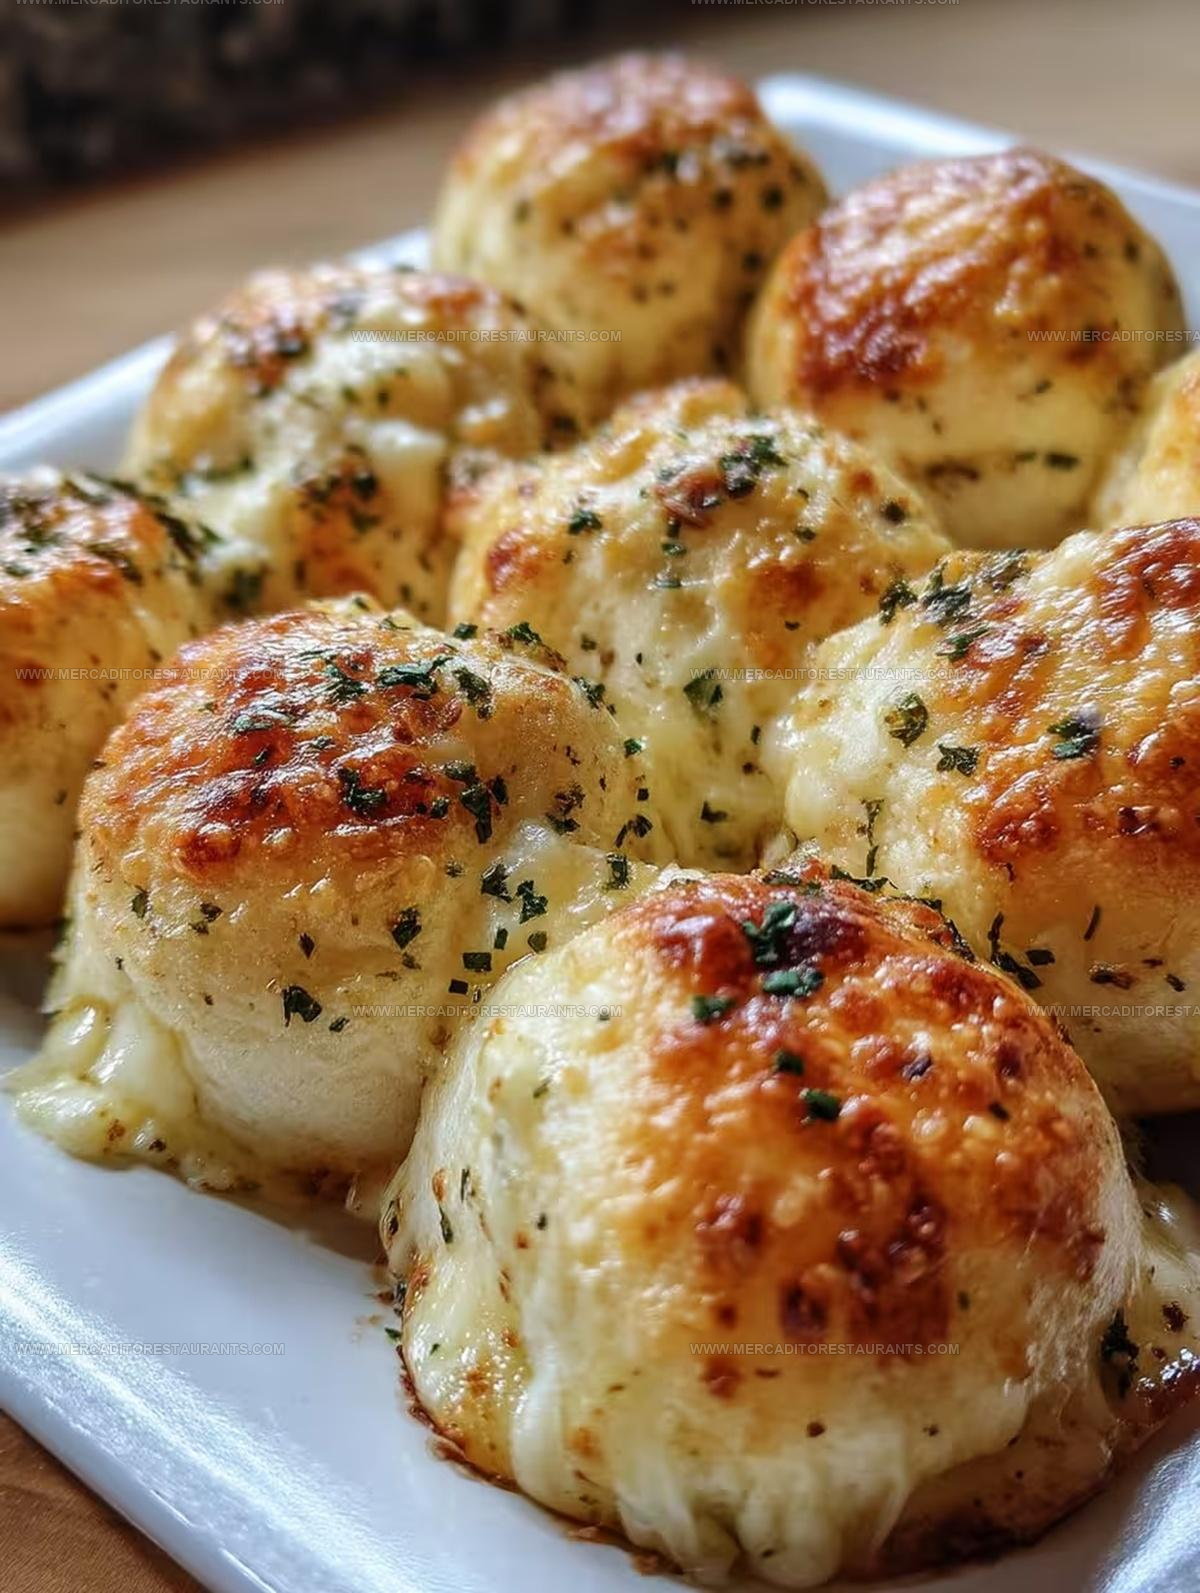
Baked Garlic Butter Cheese Bombs Recipe That Bursts With Flavor
Baked garlic butter cheese bombs are the kind of snack that disappears from the table in minutes, leaving everyone asking when you can make them again.
Soft, golden, and utterly satisfying, they hit that perfect spot between comfort food and crowd-pleaser.
The aroma alone is enough to draw hungry faces into the kitchen before they're even out of the oven.
Serve them as an appetizer, game day treat, or alongside soup and salad for a meal that feels extra special.
What makes them so appealing is how impressive they look while being remarkably simple to pull together on any busy weeknight.
Everyone from picky eaters to adventurous snackers finds something to love in every bite.
The combination of flavors is familiar yet exciting enough to feel like a real treat rather than just another weeknight option.
Standout Features Of Baked Garlic Butter Cheese Bombs

Core Ingredients for Garlic Butter Cheese Bombs
Cheese Bombs Base:Garlic Butter Topping:Tools For Garlic Butter Cheese Bombs
Preparing Garlic Butter Cheese Bombs Step by Step
Prepare the Oven
Heat your oven to exactly 400°F. Line a baking sheet with parchment paper or a silicone mat to prevent sticking.
Prep the Cheese
Grab your 3 oz block of mozzarella and slice it into neat ¾-inch cubes. Make sure each cube is roughly the same size so they melt evenly.
Shape the Cheese Bombs
Take your tube of 10 refrigerated buttermilk biscuits and gently flatten each one. Place a cheese cube right in the center of each biscuit. Carefully pinch the edges together to seal the cheese inside, forming a perfect little ball. Arrange these balls seam-side down on your prepared baking sheet.
Make Garlic Butter Topping
Prepare the delicious garlic butter by combining the ingredients:
Stir these together until well blended.
First Butter Coating
Use a pastry brush to coat the top of each dough ball with the garlic butter mixture. Make sure to cover each ball evenly.
Bake to Golden Perfection
Pop the baking sheet into the preheated 400°F oven. Bake for 13-15 minutes, watching until the bombs turn a beautiful golden brown color.
Final Butter Touch
Immediately after removing from the oven, brush the hot cheese bombs with any remaining garlic butter. This extra coating adds more flavor and gives them a gorgeous shine.
Serve and Enjoy
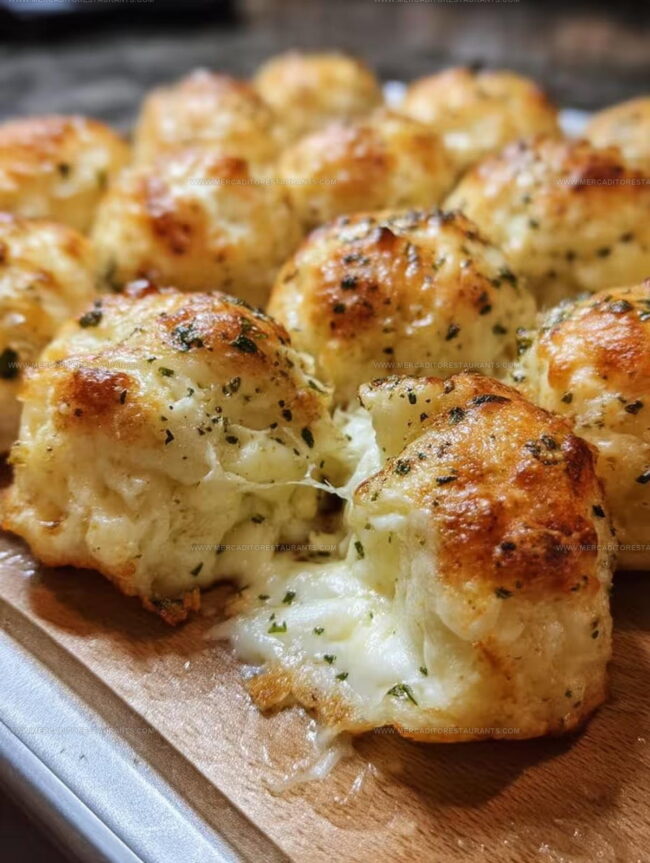
Let the cheese bombs cool for a few minutes – they’ll be super hot inside. Serve warm and watch everyone grab for these cheesy treats.
Cook Smarter With Baked Garlic Butter Cheese Bombs
Cheesy Variations for Garlic Butter Cheese Bombs
Serving And Pairing Ideas For Garlic Butter Cheese Bombs
Proper Storage For Baked Garlic Butter Cheese Bombs
Baked Garlic Butter Cheese Bombs Helpful FAQs
Can I use a different type of cheese?
Absolutely! Cheddar or pepper jack work great. Just cut them into similar-sized cubes and wrap inside the biscuit dough.
What if my biscuit dough tears when sealing?
No worries. Gently press the edges back together and make sure the cheese is fully enclosed. A little practice helps create perfect seals.
Do these freeze well?
Yes! After assembling, you can freeze unbaked bombs on a tray, then transfer to a freezer bag. Bake directly from frozen, adding a few extra minutes to cooking time.
Can I make these ahead of time?
Sure! Prepare and assemble the bombs earlier in the day, then refrigerate until ready to bake. Just add a couple minutes to baking time.
What dipping sauces work best?
Ranch, marinara, or garlic aioli are fantastic choices that complement the cheesy, garlicky flavor of these bombs.
How do I know when they’re done baking?
Look for a golden brown exterior and puffy appearance. The tops should be evenly colored and slightly crisp.

Baked Garlic Butter Cheese Bombs Recipe
- Total Time: 23-25 minutes
- Yield: 10 1x
Description
Garlic Butter Cheese Bombs explode with cheesy goodness right from your kitchen oven. Melted cheese and buttery garlic create an irresistible appetizer that disappears faster than you can bake them.
Ingredients
Main Ingredients:
- 1 tube refrigerated buttermilk biscuits
- 3 oz mozzarella cheese
Supporting Ingredients:
- ¼ cup salted butter
Seasoning:
- 2 teaspoons garlic powder
- 2 teaspoons dry Ranch seasoning mix
Instructions
- Warm your oven to precisely 400°F and prepare a baking sheet with parchment paper for your cheese bombs.
- Transform each mozzarella block into three-quarter-inch cubes, ensuring uniform sizing for consistent cooking.
- Gently press each refrigerated buttermilk biscuit flat, creating a smooth surface for cheese placement.
- Center one cheese cube in the middle of each flattened biscuit, carefully folding and pinching edges to create a sealed, round package.
- Position your formed cheese bombs seam-side down on the prepared baking sheet, spacing them evenly.
- Melt ¼ cup salted butter and whisk in 2 teaspoons garlic powder and 2 teaspoons Ranch seasoning mix to craft a fragrant garlic butter.
- Apply a generous brushstroke of garlic butter across the surface of each dough sphere, ensuring complete coverage.
- Slide the baking sheet into the 400°F oven and bake for 13-15 minutes until your bombs achieve a rich, golden-brown exterior.
- Remove the bombs from the oven and immediately brush with remaining garlic butter for an extra layer of flavor.
- Allow the cheese bombs to rest for 2-3 minutes before serving, letting the interior cheese settle and cool slightly.
Notes
- Check your mozzarella cubes are uniform in size to ensure even melting inside each bomb.
- Work quickly when sealing cheese inside dough to prevent cheese from getting too soft and leaking.
- When pinching dough edges closed, make sure there are no gaps where cheese can escape during baking.
- For a gluten-free version, swap refrigerated biscuits with gluten-free biscuit dough or a homemade almond flour dough alternative.
- Prep Time: 10 minutes
- Cook Time: 13-15 minutes
- Category: Baked
- Method: Baking
- Cuisine: American
Nutrition
- Serving Size: 10
- Calories: 179 kcal
- Sugar: 1 g
- Sodium: 324 mg
- Fat: 13 g
- Saturated Fat: 8 g
- Unsaturated Fat: 4 g
- Trans Fat: 0.3 g
- Carbohydrates: 9 g
- Fiber: 0.5 g
- Protein: 6 g
- Cholesterol: 35 mg
Daniel Navarro
Culinary Content Director
Expertise
Mexican-inspired Menus, Seasonal Restaurant Specials, Shared Plate Dining, Tequila Pairings, Chef-driven Recipes
Education
Daniel writes about bold flavors, chef-driven dishes, and the kind of restaurant moments that turn tacos, mezcal, and shared plates into a night worth repeating.